Installing Software on Windows

![]()
![]()
For the YouTube livestream recording, see here
For screen-shots slides, click here
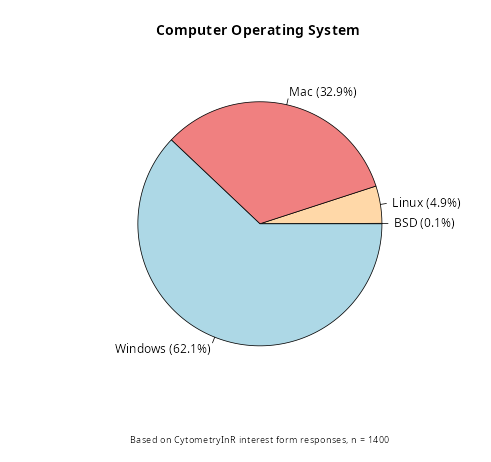
This is the software installation walkthrough for those whose computers are running Windows. Based on our pre-course interest form, you make up the majority of course participants.
Background
In this walkthrough, we will have you install the following pieces of software:
R website : The programming language we will be using throughout the course.
Positron : The integrated development environment (IDE) in which we will open, modify and run our code.
Git : The version control software that will allow us to track changes to our files.
Additionally, Windows users will need to install:
RTools : Used to build R packages from source code.
Getting Started
Installing R
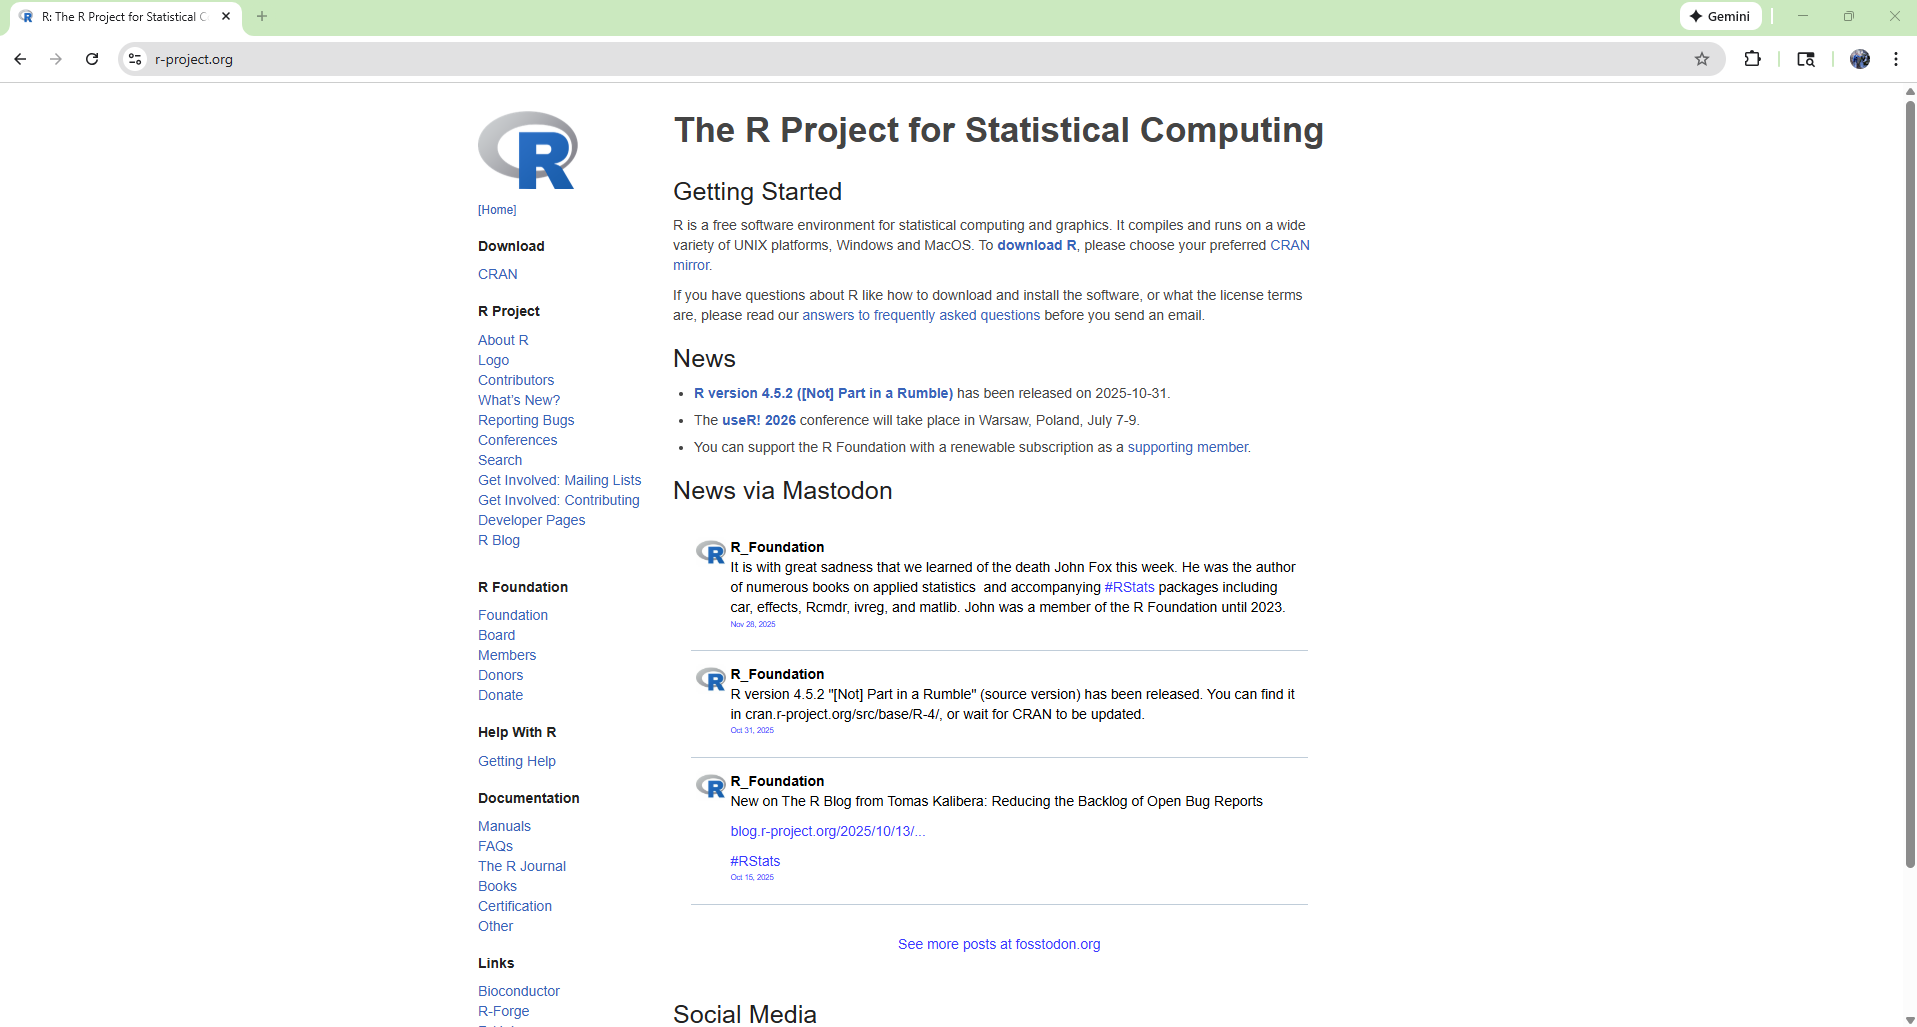
To get started, first navigate to the R website. Once there, click on Download R option towards the top of the page.
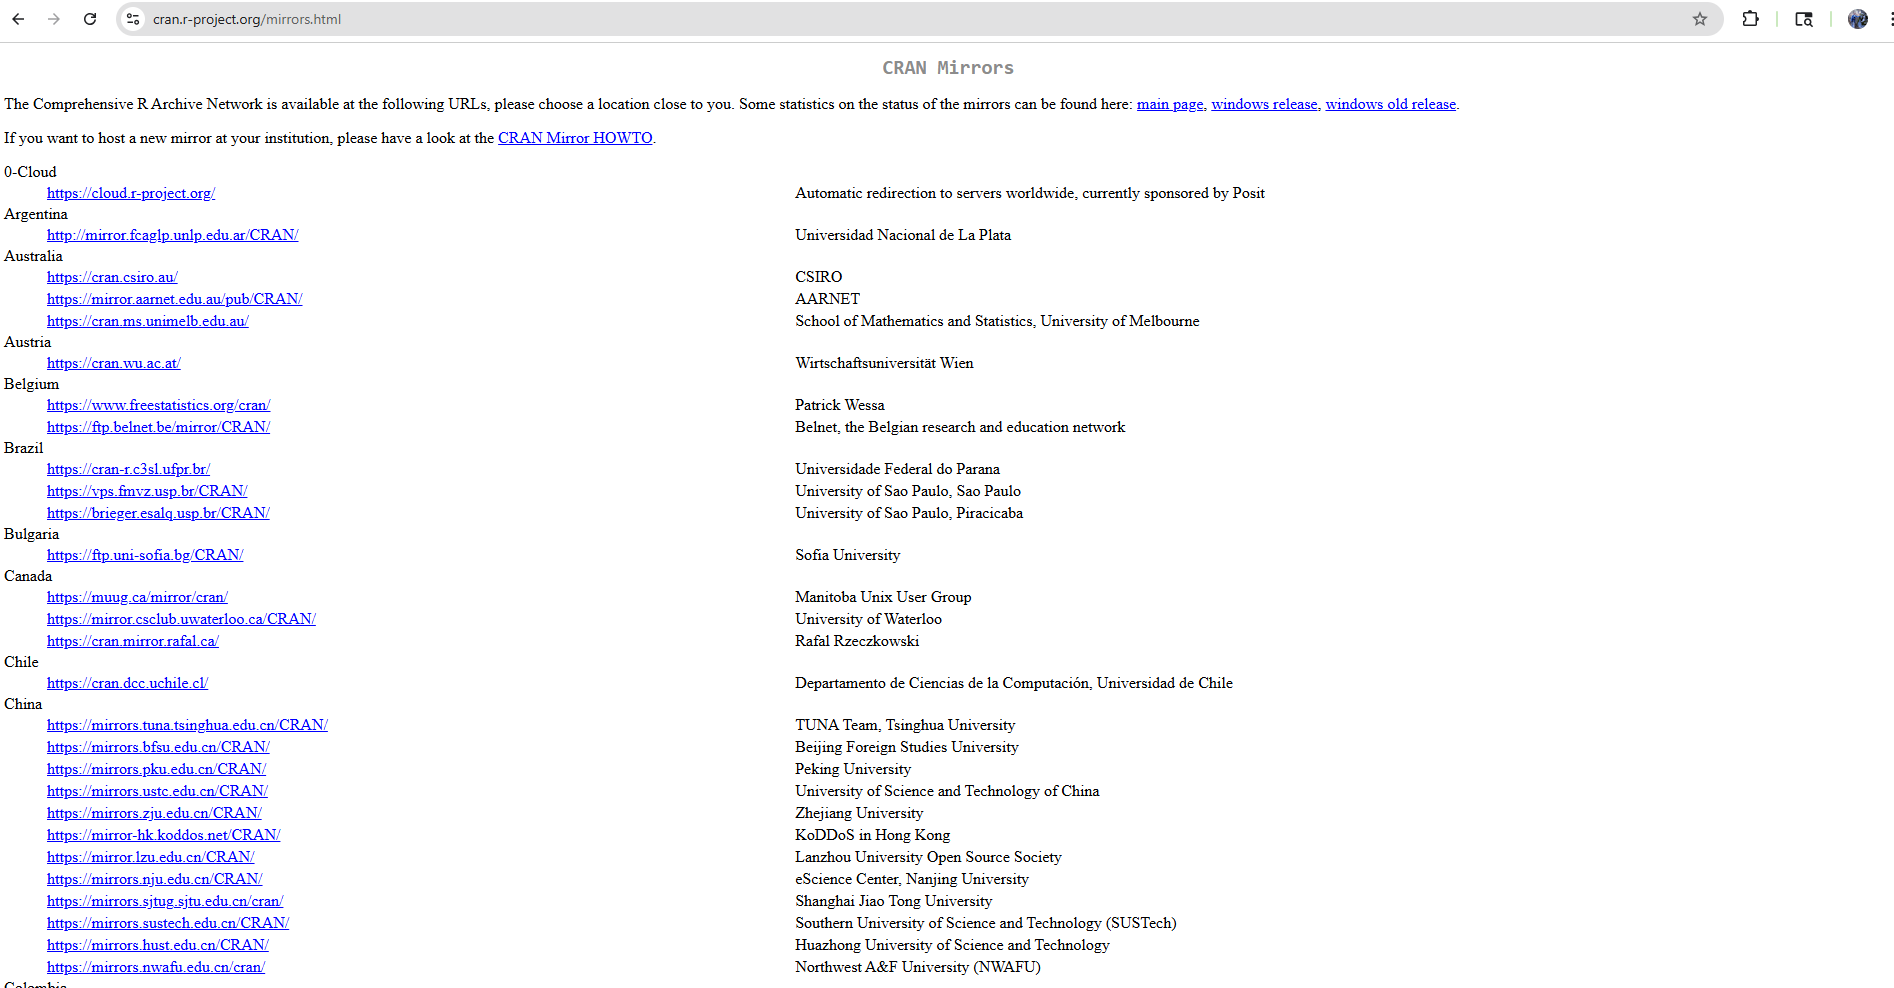
On the next screen, you will need to select a mirror from which to download the software from. You can either select the closest geographic location (which may be faster) or alternatively just select the Cloud option which should redirect you.
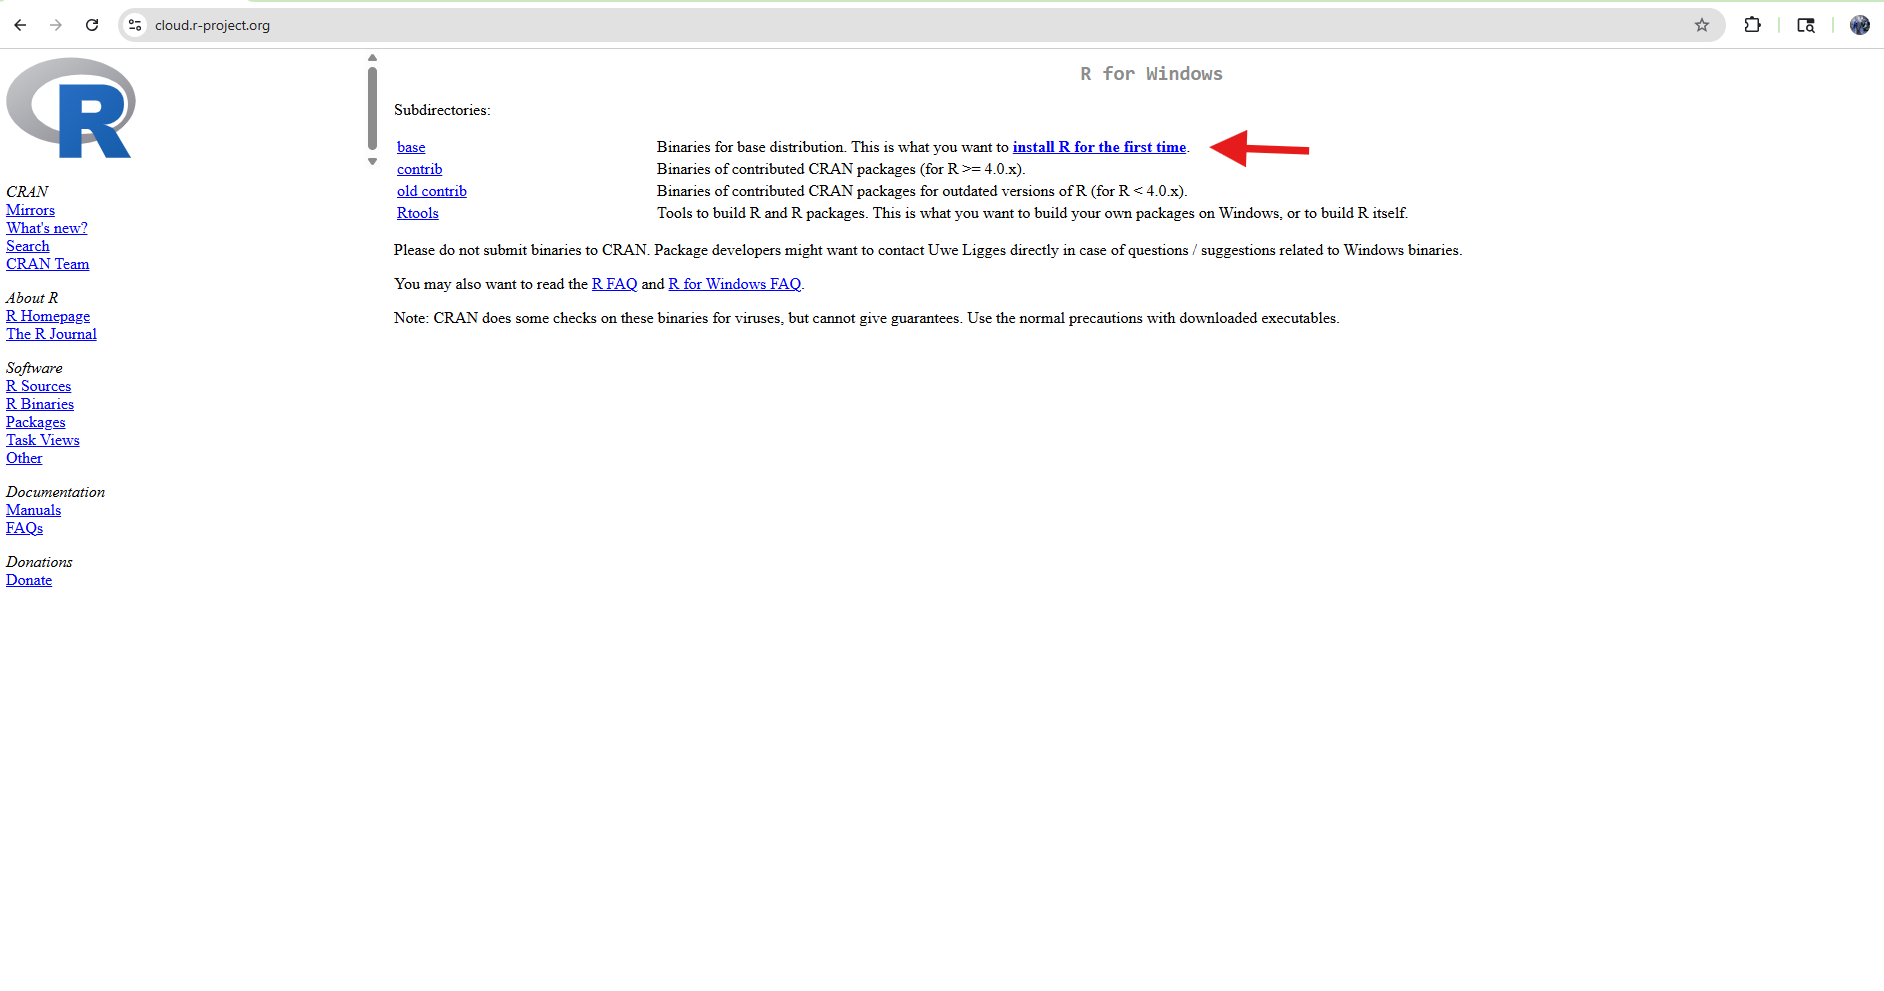
You will then select your Operating System, in this case, Windows.
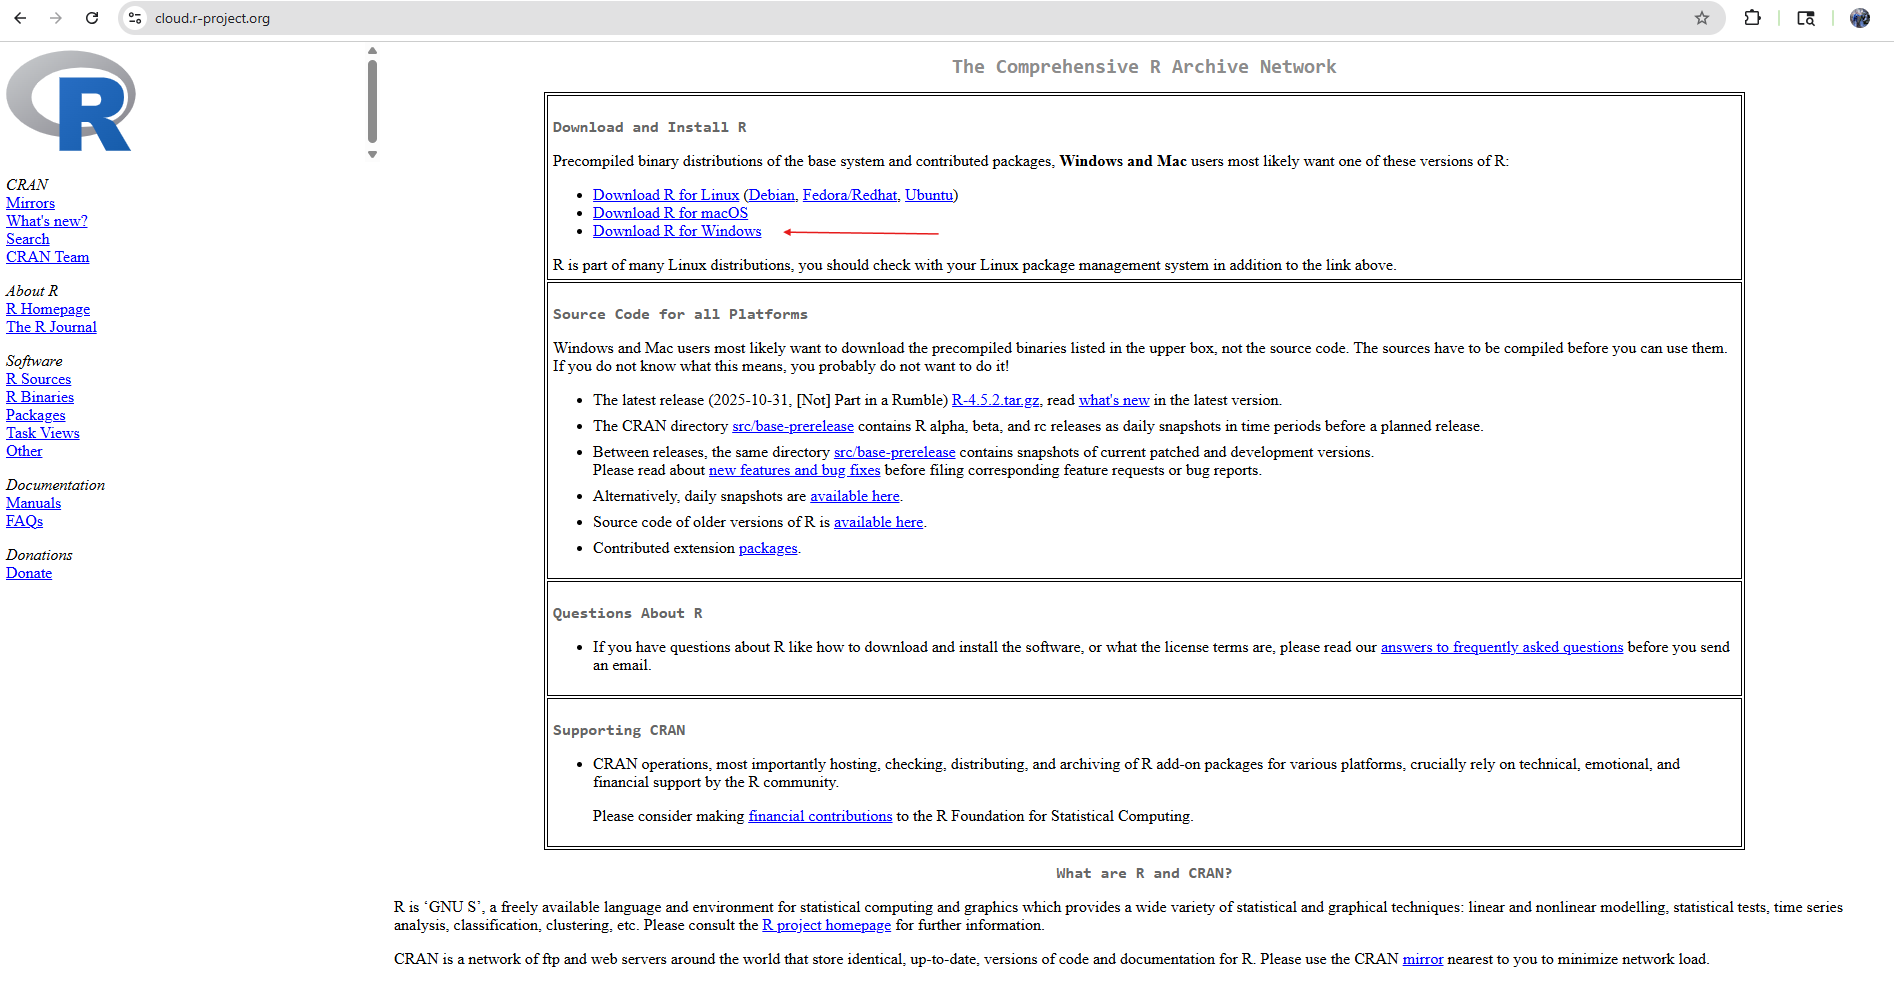
And go ahead and select the Install R for the first time link.
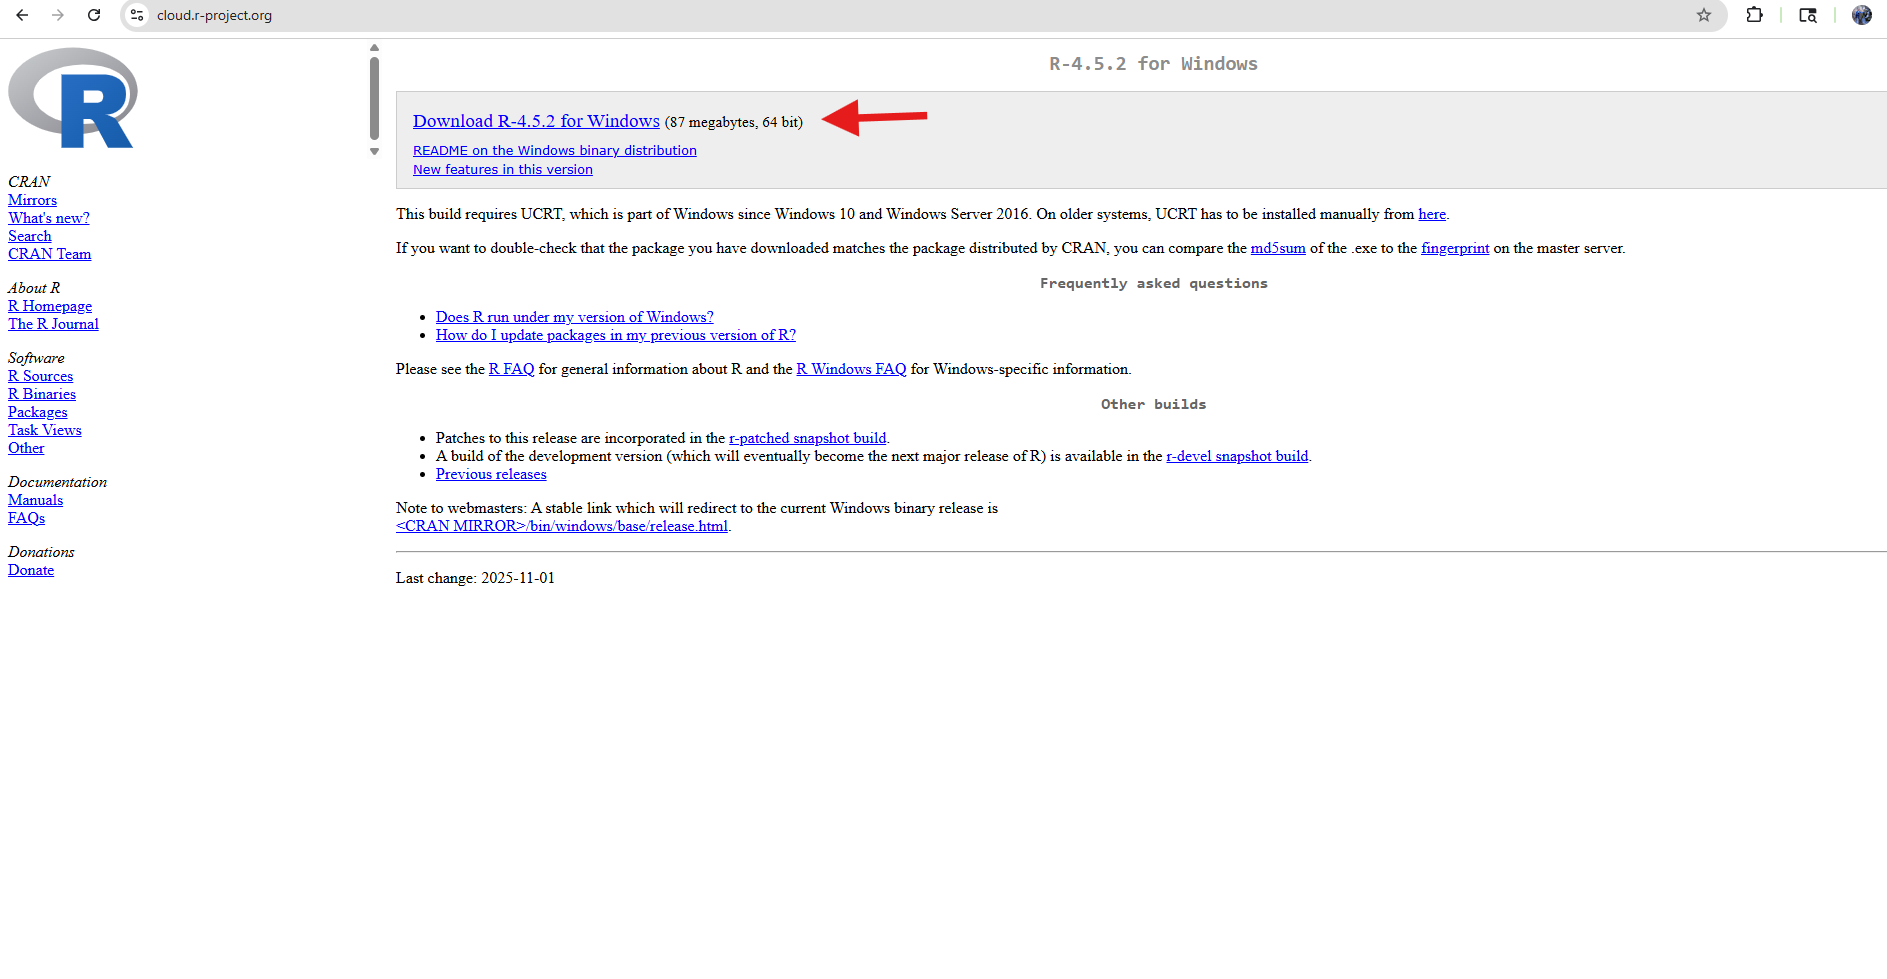
Next, you will select the download the current version option at the top of the page.
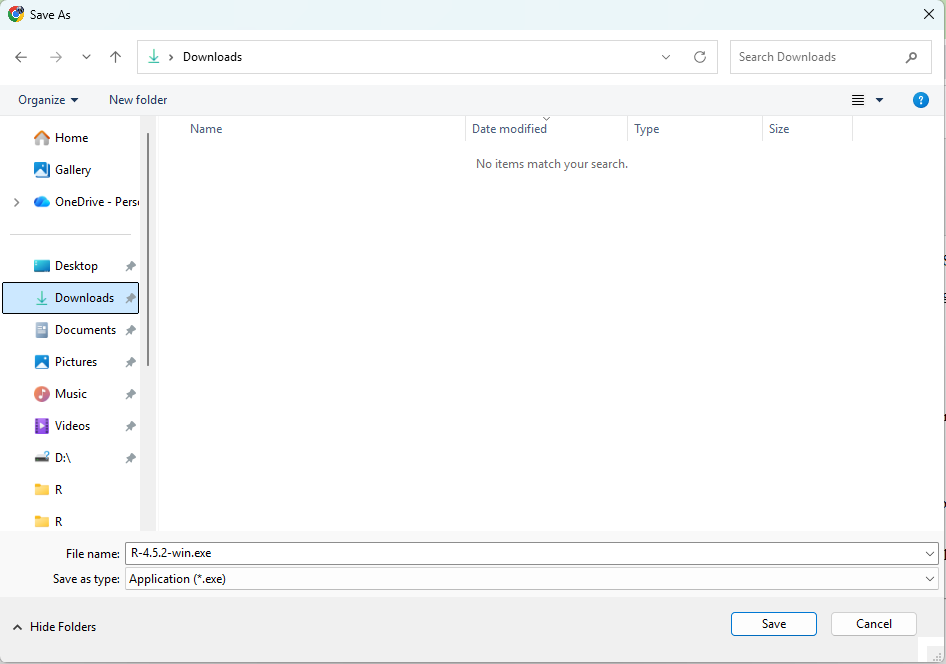
The popup window will then ask where you want to save the installer (.exe) file. We generally save this to either Downloads or Desktop to make finding it easier.
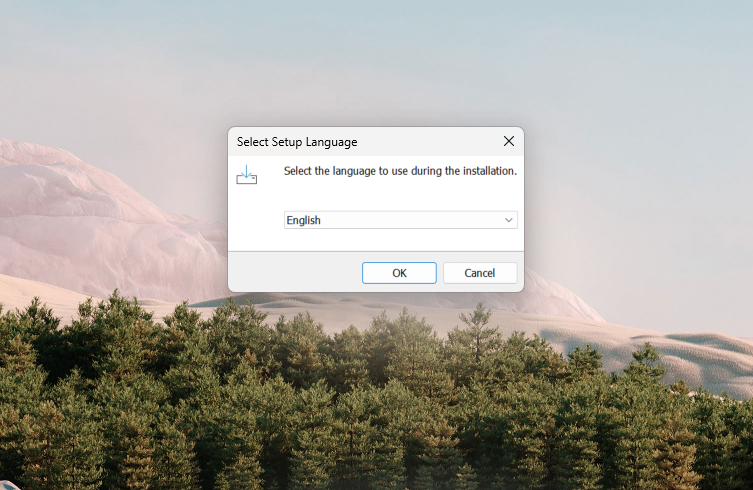
After the download is complete, double click on the installer’s .exe file. This will open a popup asking you to select your preferred language.
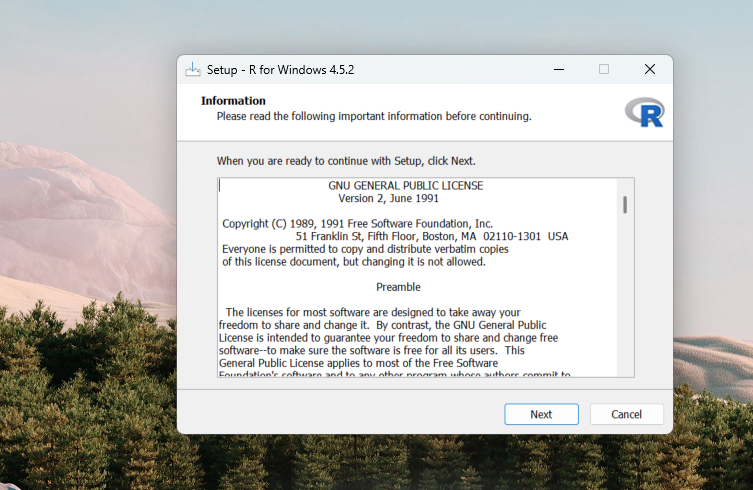
You will then be prompted to acccept the software license (which is the free copyleft GPL2 license, which we will learn about later in the course).
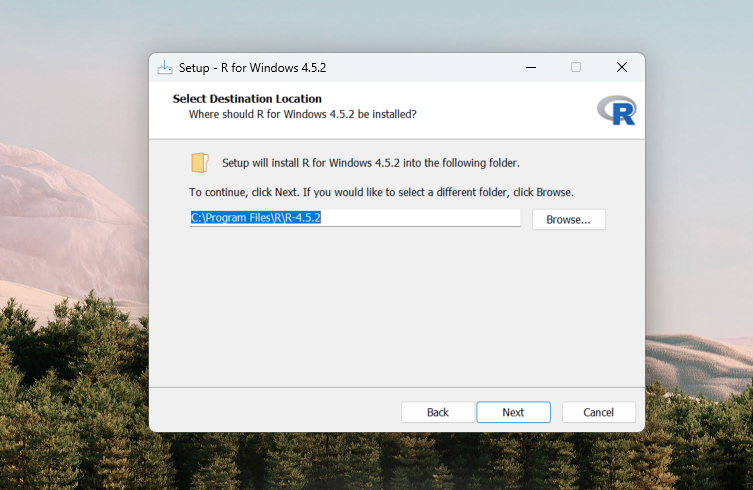
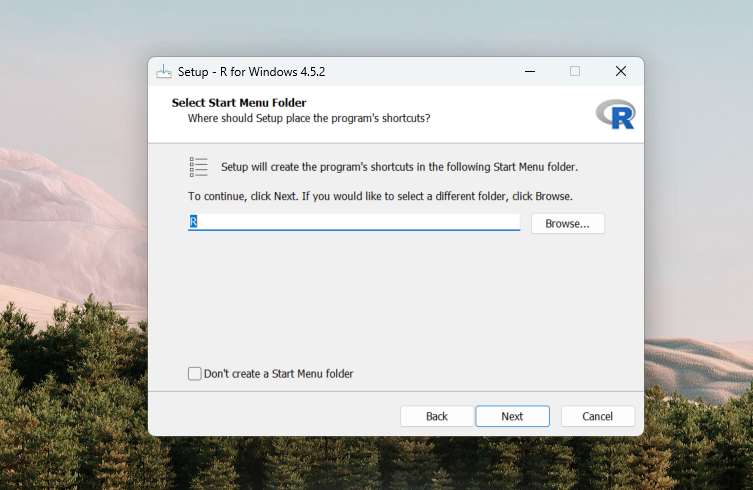
On Windows, R will normally save it’s software folder under Program Files.
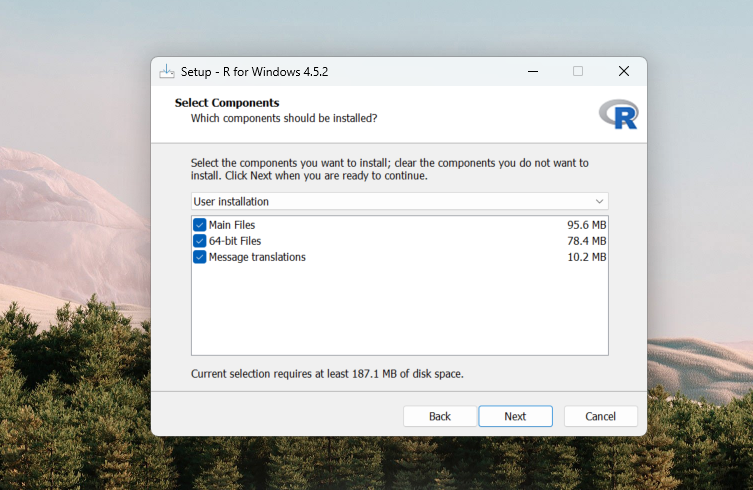
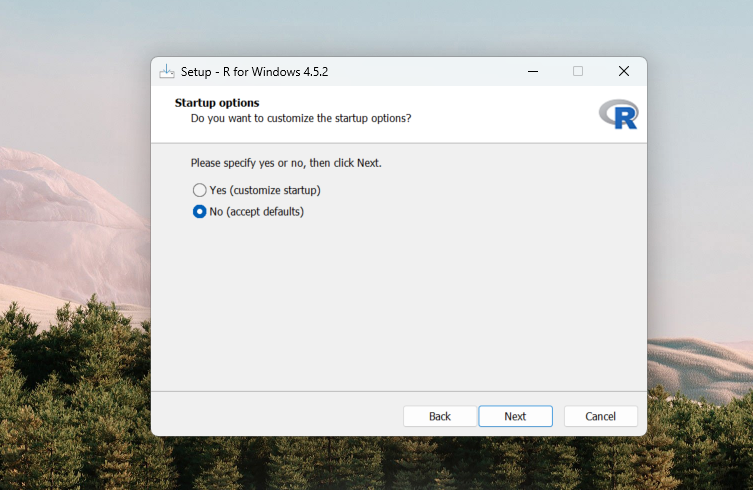
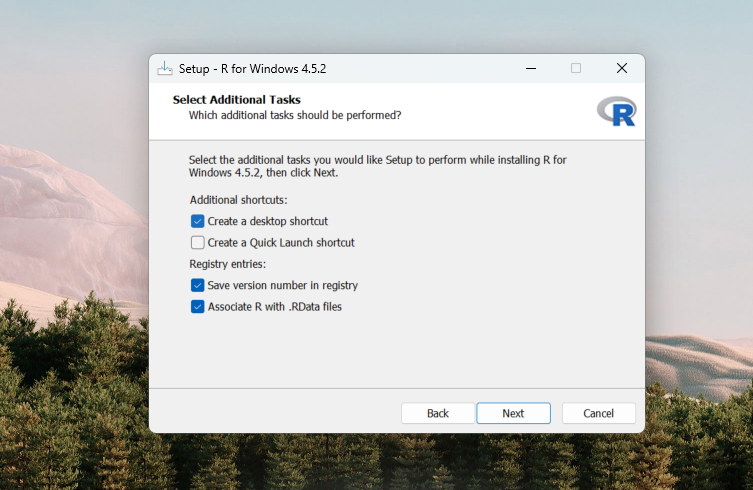
Next, please accept the defaults.
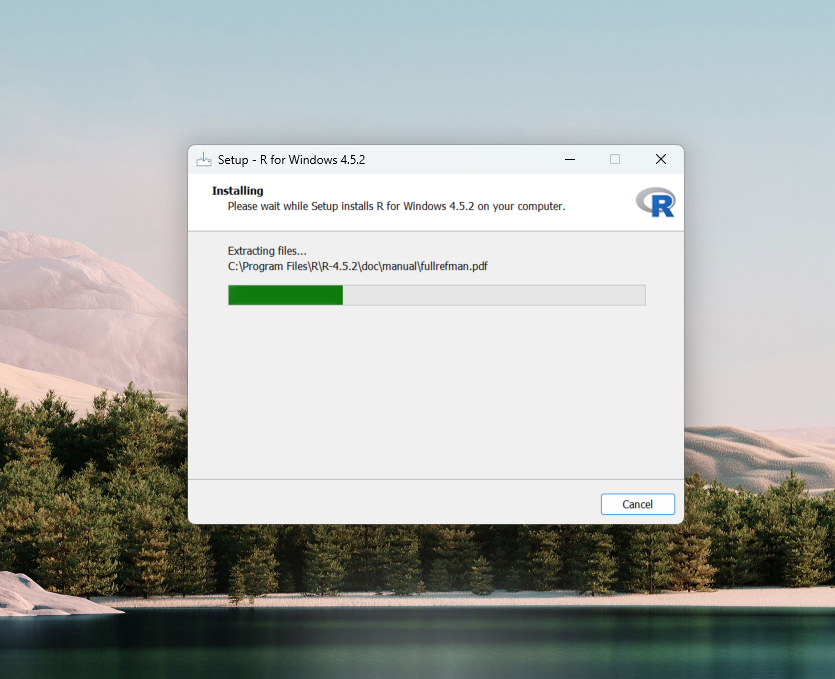
With the defaults accepted, the installation will commence. Feel free to go have a coffee/tea/beverage-of-your choice break while you wait.
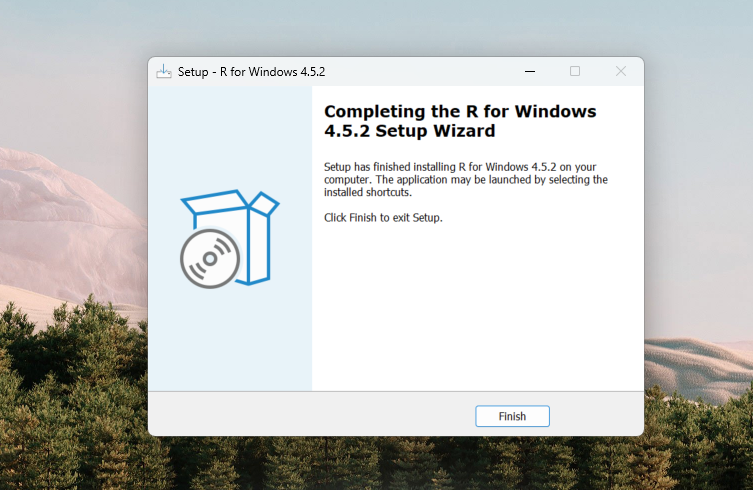
And if all goes well, the installation will complete without any issues.
Installing RTools
We will now work on installing Rtools. This software is needed when building R packages from source, which we will need throughout the course for R packages hosted on GitHub.
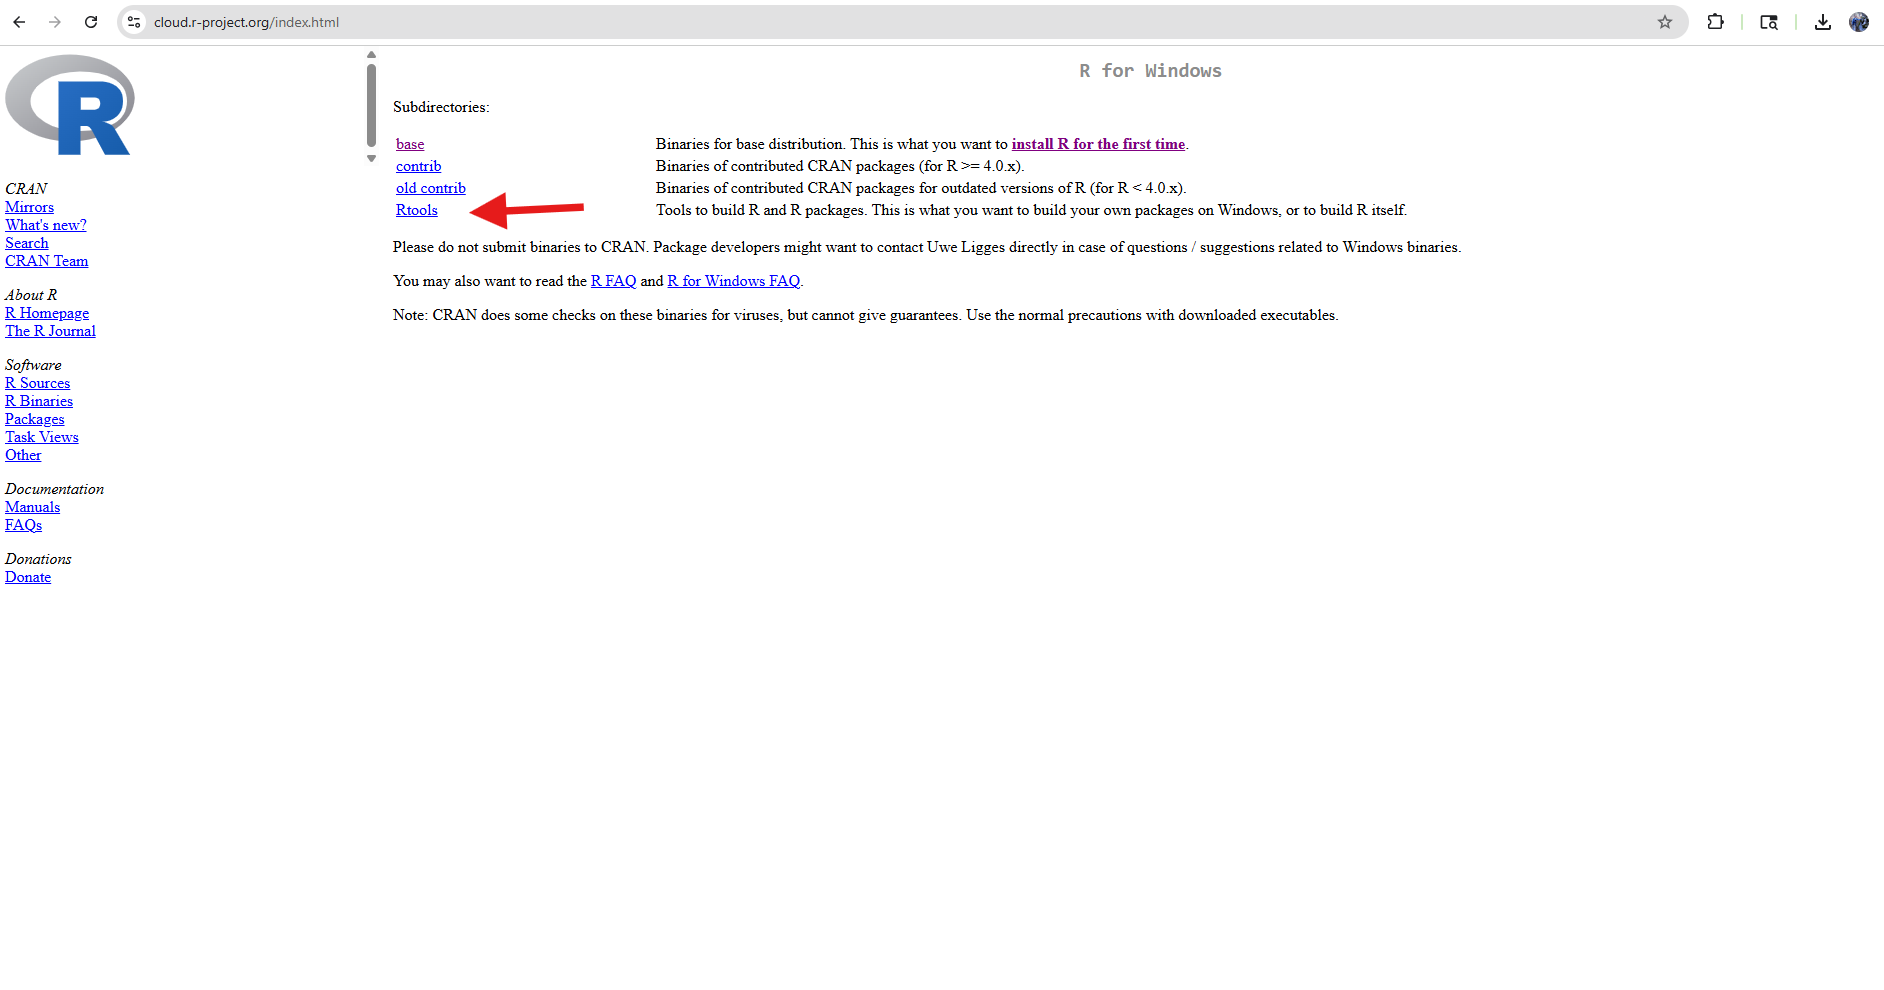
To get started, we will return to the R installation page we visited previously and instead click on the Rtools option.
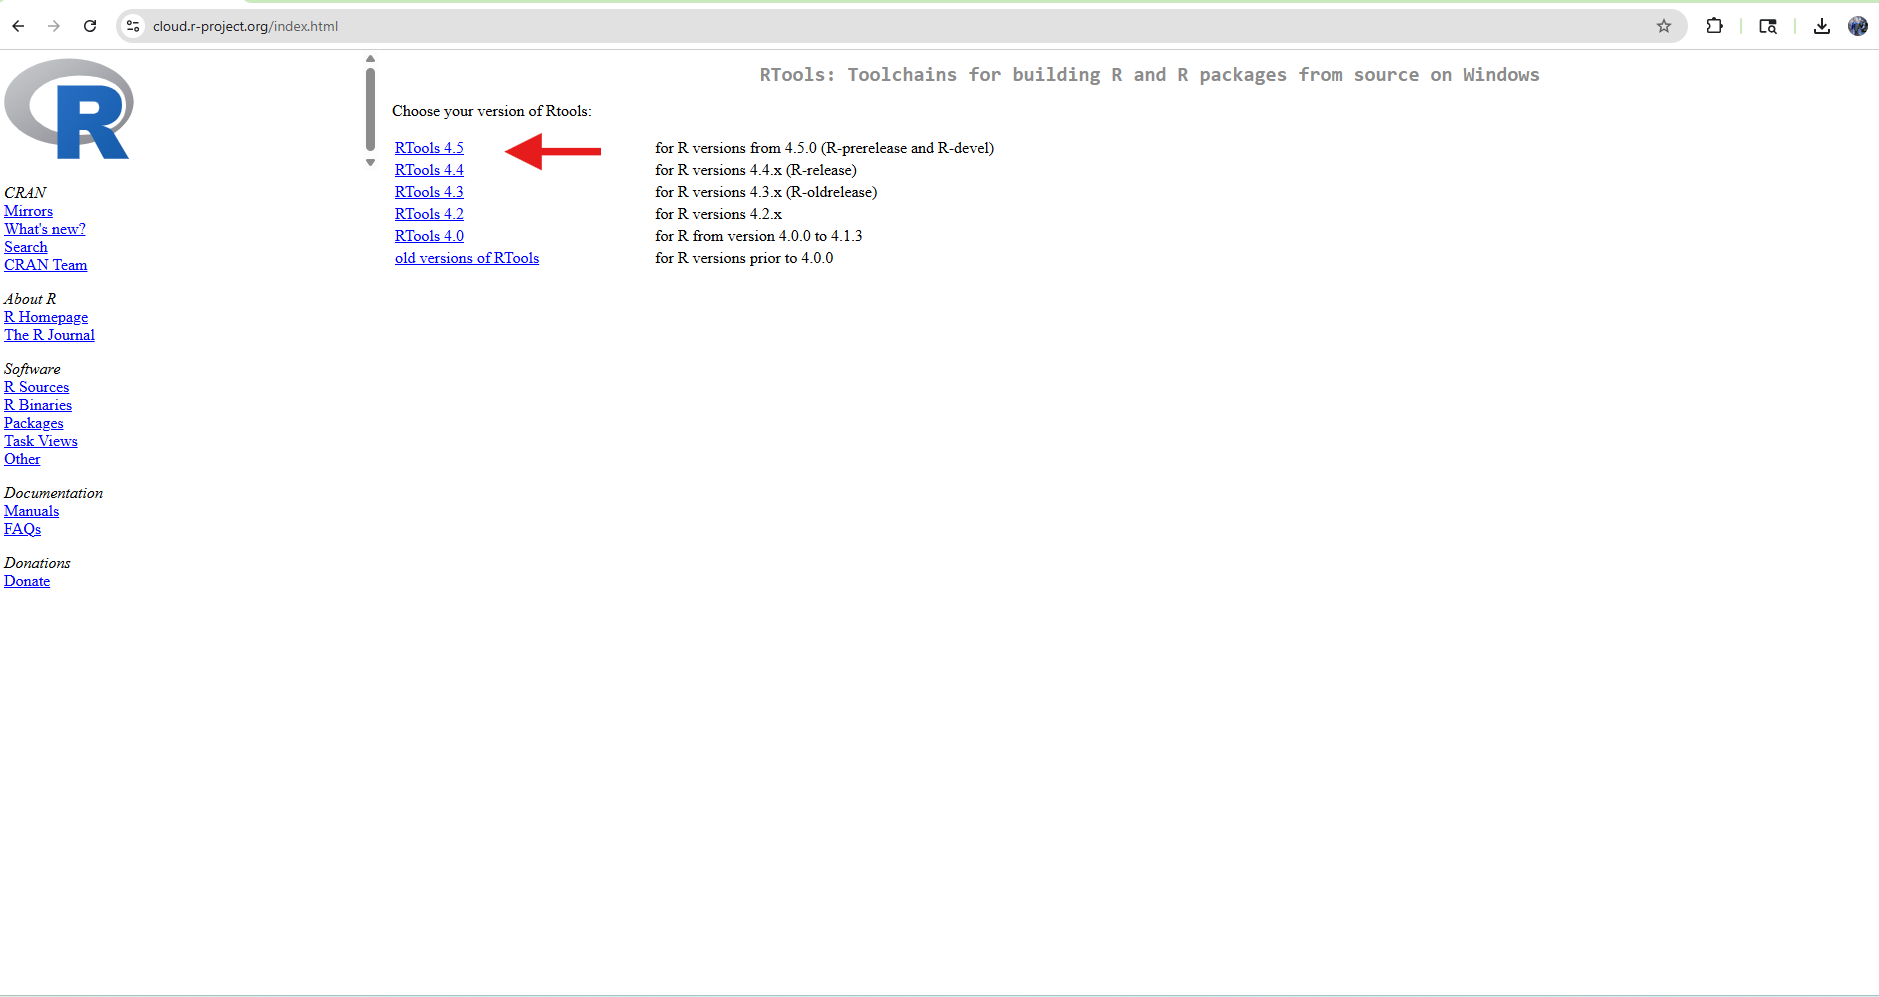
Next, select the most recent version of Rtools to Download.
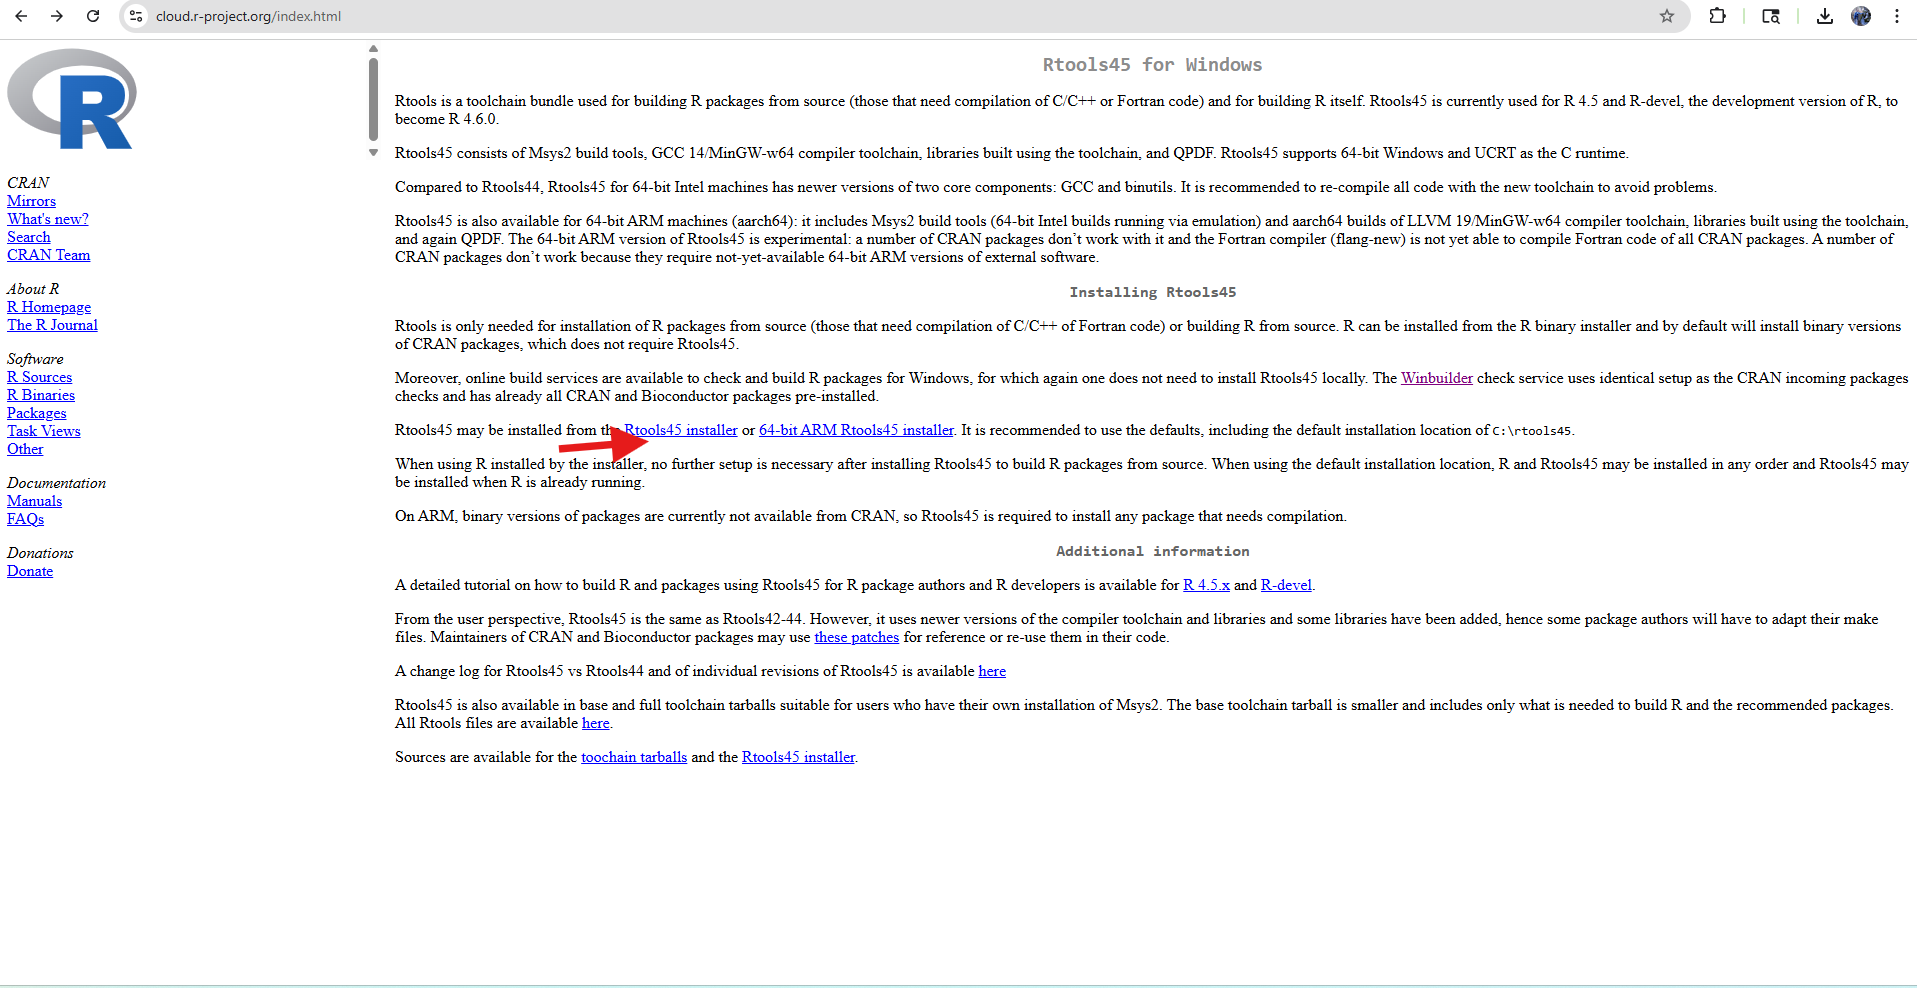
You will then select for your architecture. For the vast majority of Windows users, your computer will likely be be using a x86 chip architecture, so you would select the Rtools45 installer option.
If your computer however uses the ARM chip architecture, you would select the 64-bit ARM Rtools45 installer instead. If you are unsure, see the following.
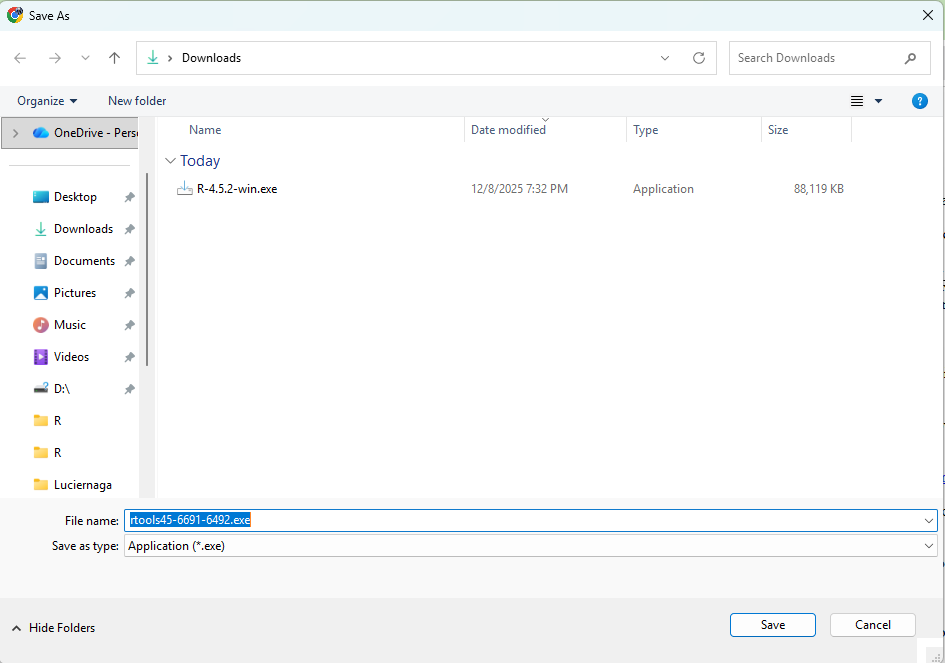
Next, you will select the location to save the Rtools installer to. We generally save this to either Downloads or Desktop to make finding it easier.
Once downloaded, double click on the .exe to launch the Rtools installer.
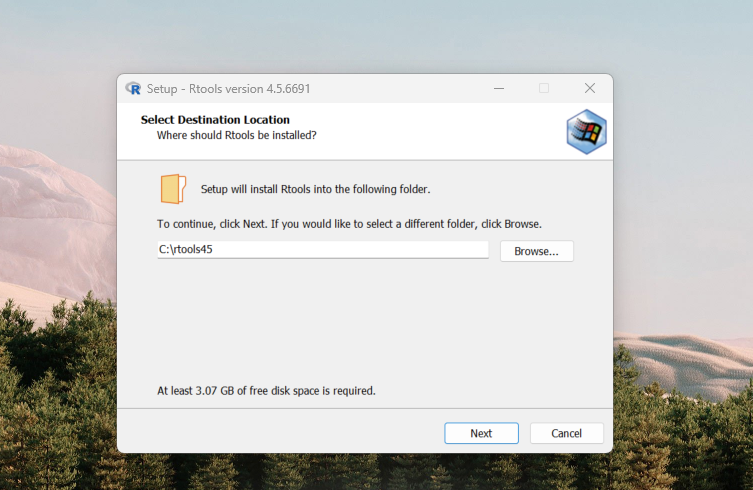
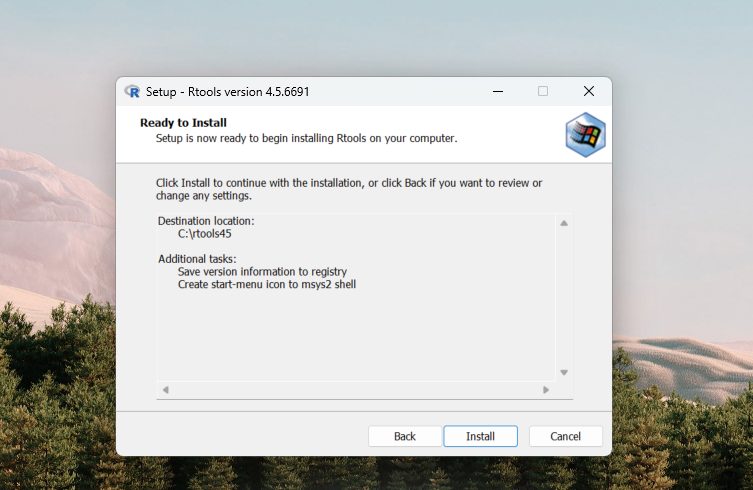
Similar to what we did when installing R, go ahead and keep the defaults.

And click install to proceed with the installation.
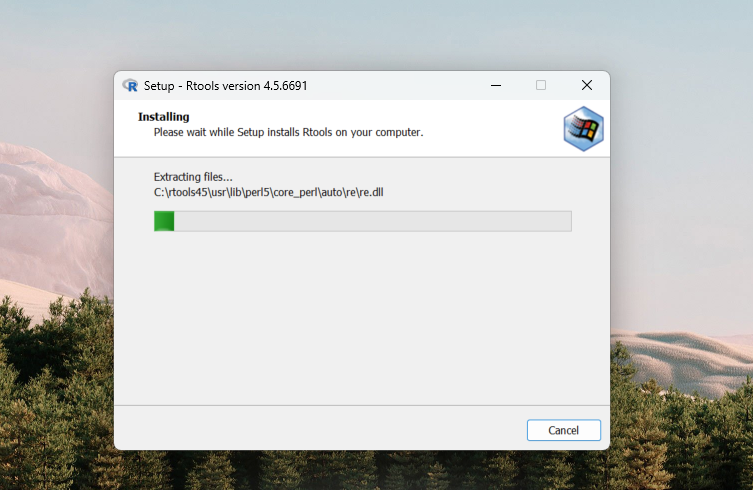
And wait while the installation wraps up.
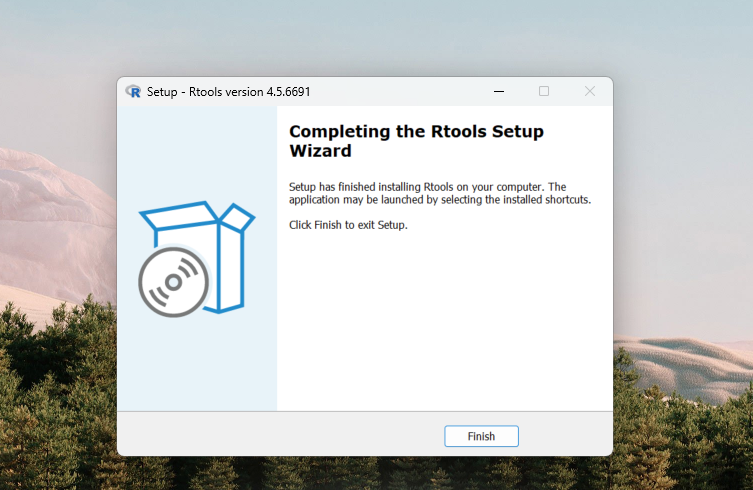
If all goes well, you should see the following installation success page.
Installing Git
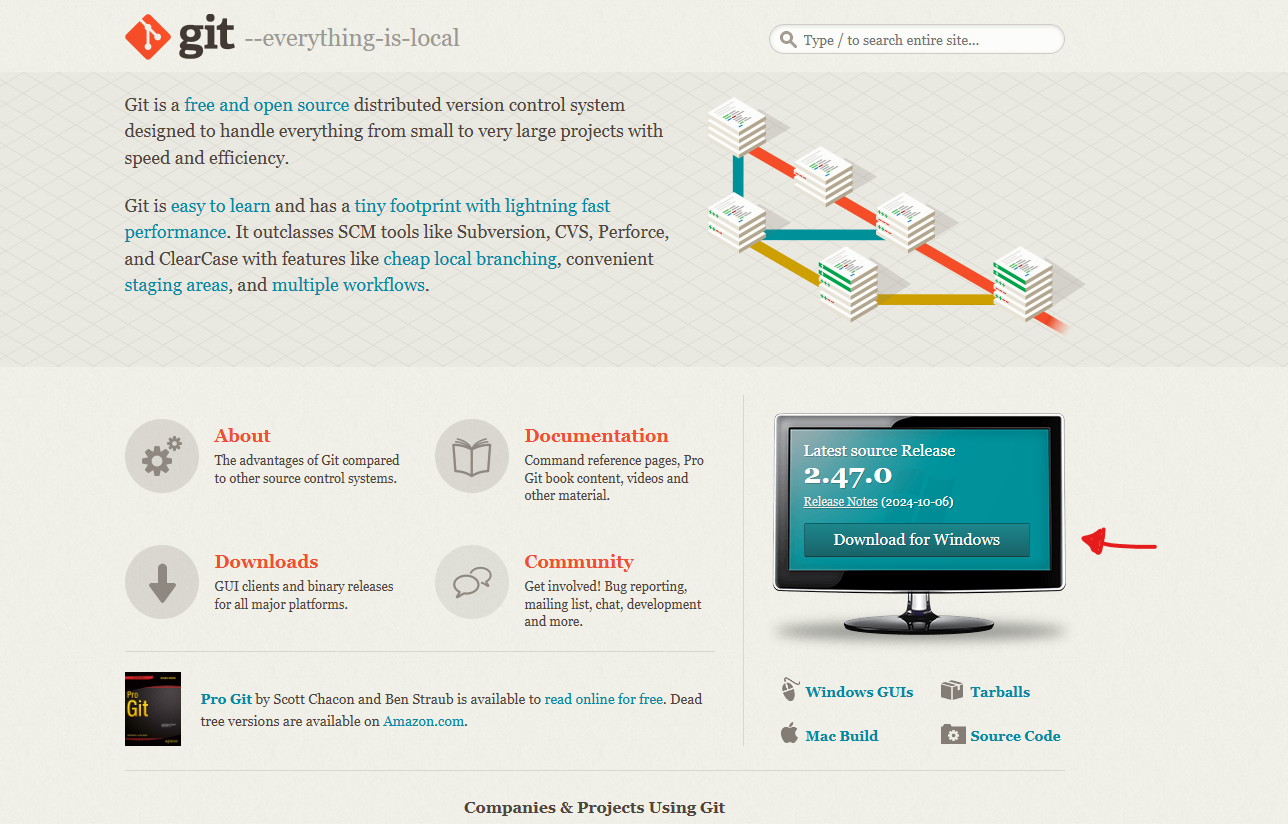
Git is a version control software widely used among software developers and bioinformaticians. We will use it extensively throughout the course, both locally on our computers (to keep track of changes to our files), as well as in combination with GitHub(to maintain online backups of our files).
We will first navigate to the website and select the download from Windows option.
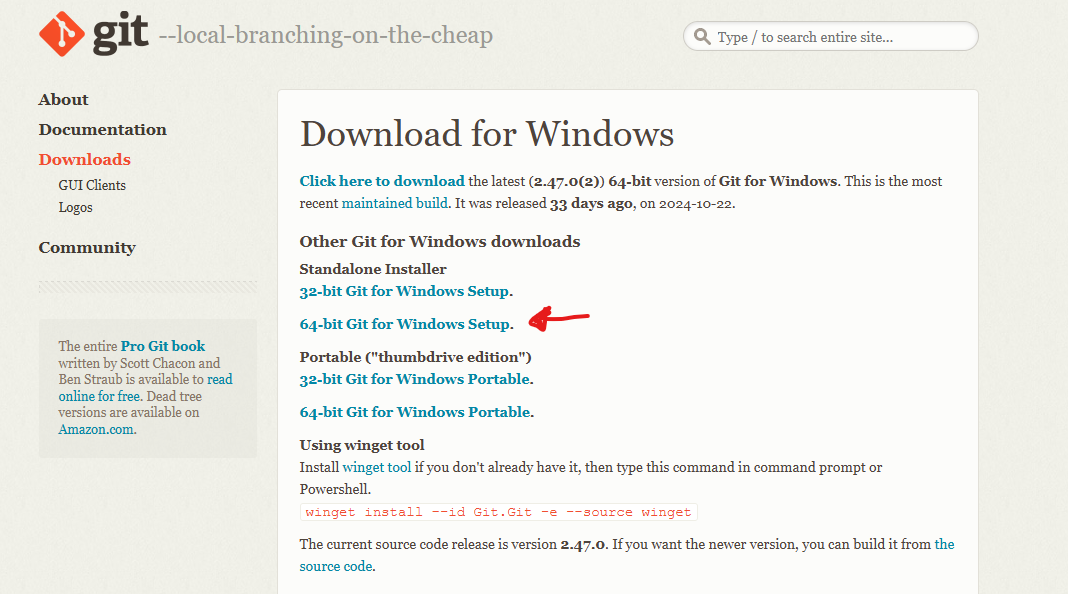
We will then proceed and select install 64-bit Git for Windows Setup option
As was the case with our installation of R and Rtools, a pop-up will appear asking for a location to save the installer to.
Once downloaded, double-click and proceed with the installation.
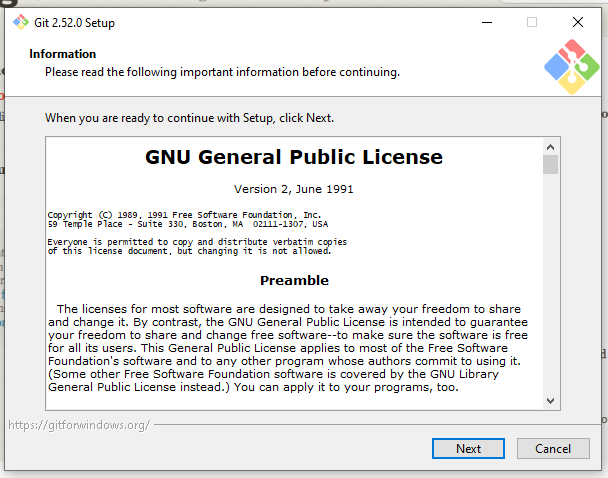
You will be asked to accept the Git License (which is the free copyleft GPL2 license, which we will learn about later in the course).
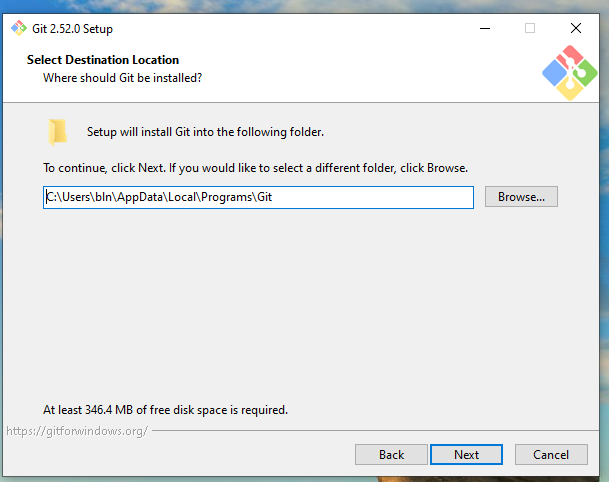
Then you will be asked to select the folder to save to software to (usually your Programs folder)
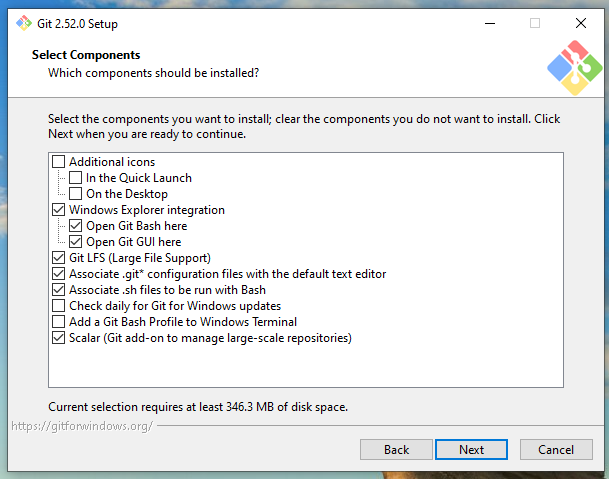
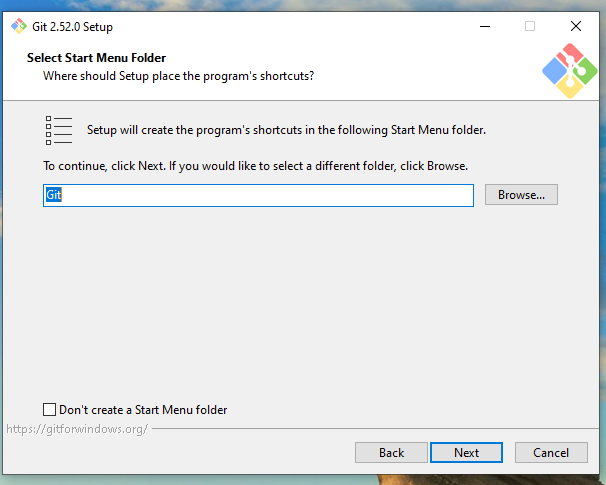
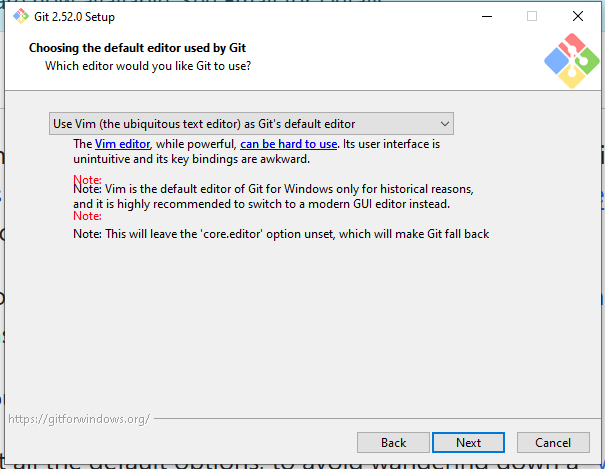
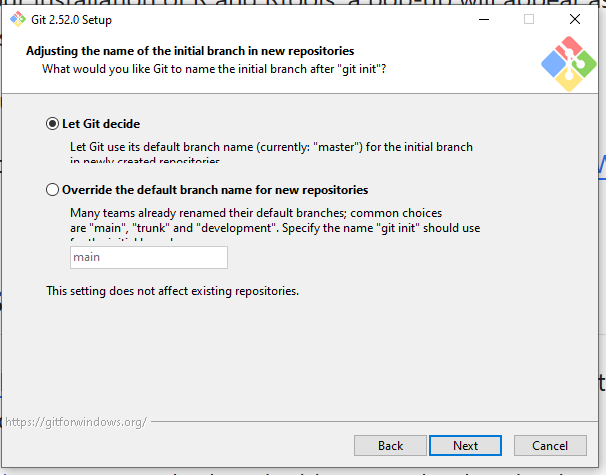
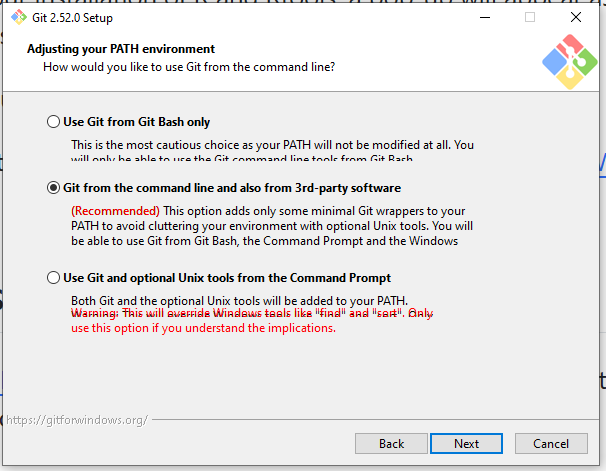
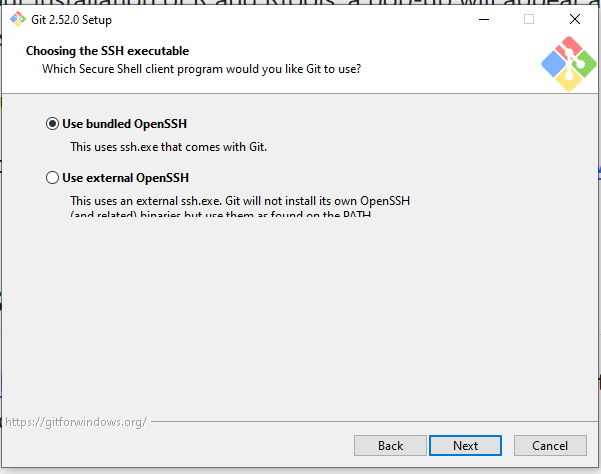
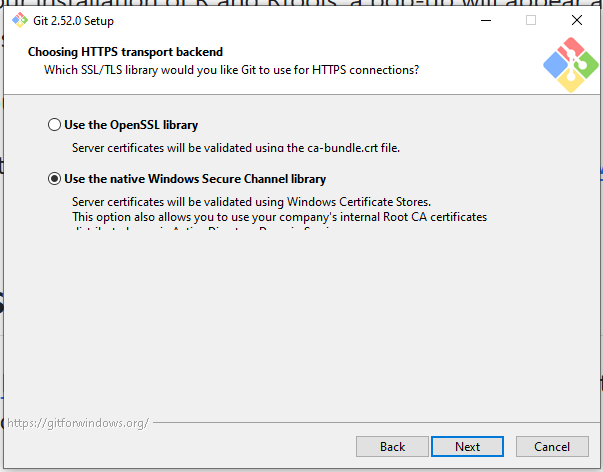
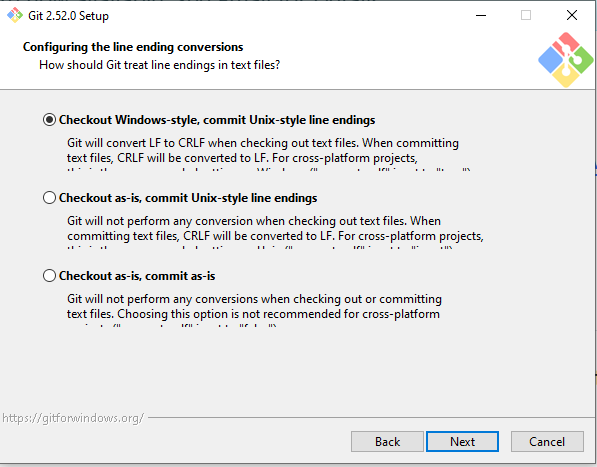
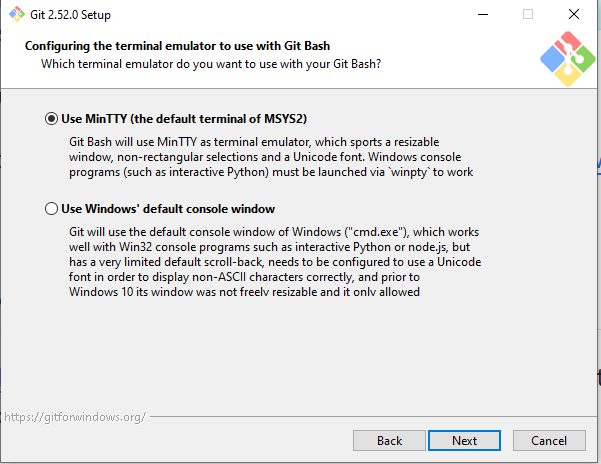
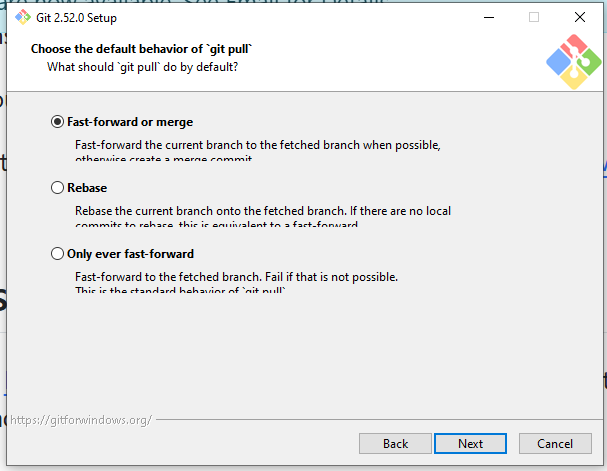
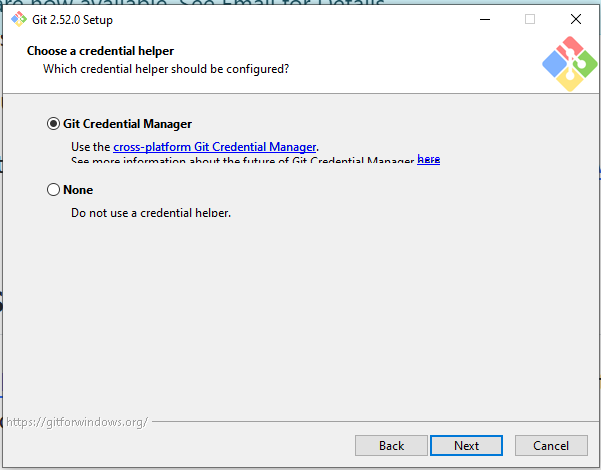
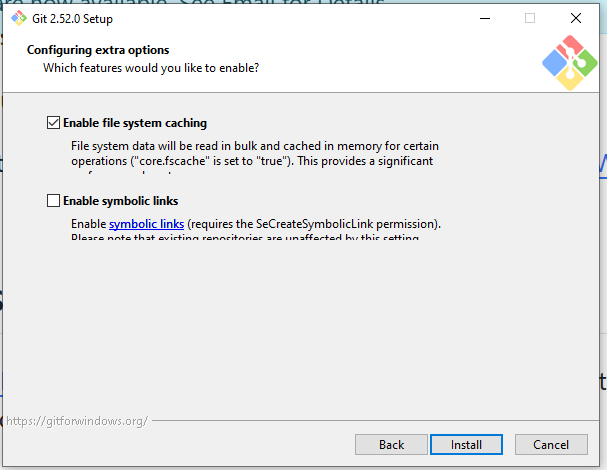
At this point, the Git installer will ask a series of increasingly niche questions. It is best to just accept all the default options, to avoid wandering too far down a “What is Vim?!?” rabbit-hole.
Having made it through all the niche customization screens, we finally reach the install button.
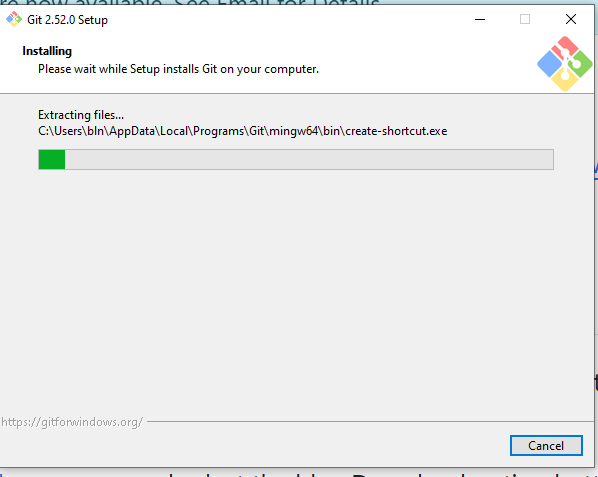
We then can wait for the install to complete.
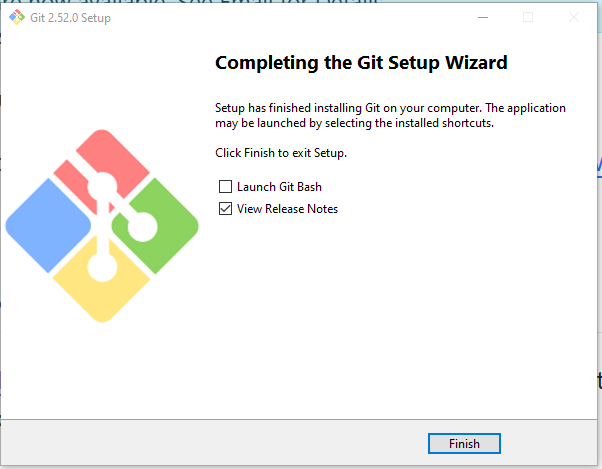
And success, we have now installed Git.
Installing Positron
Finally, you will install Positron. It is an integrated development environment (IDE) in which we will open, modify and run our code throughout the course.
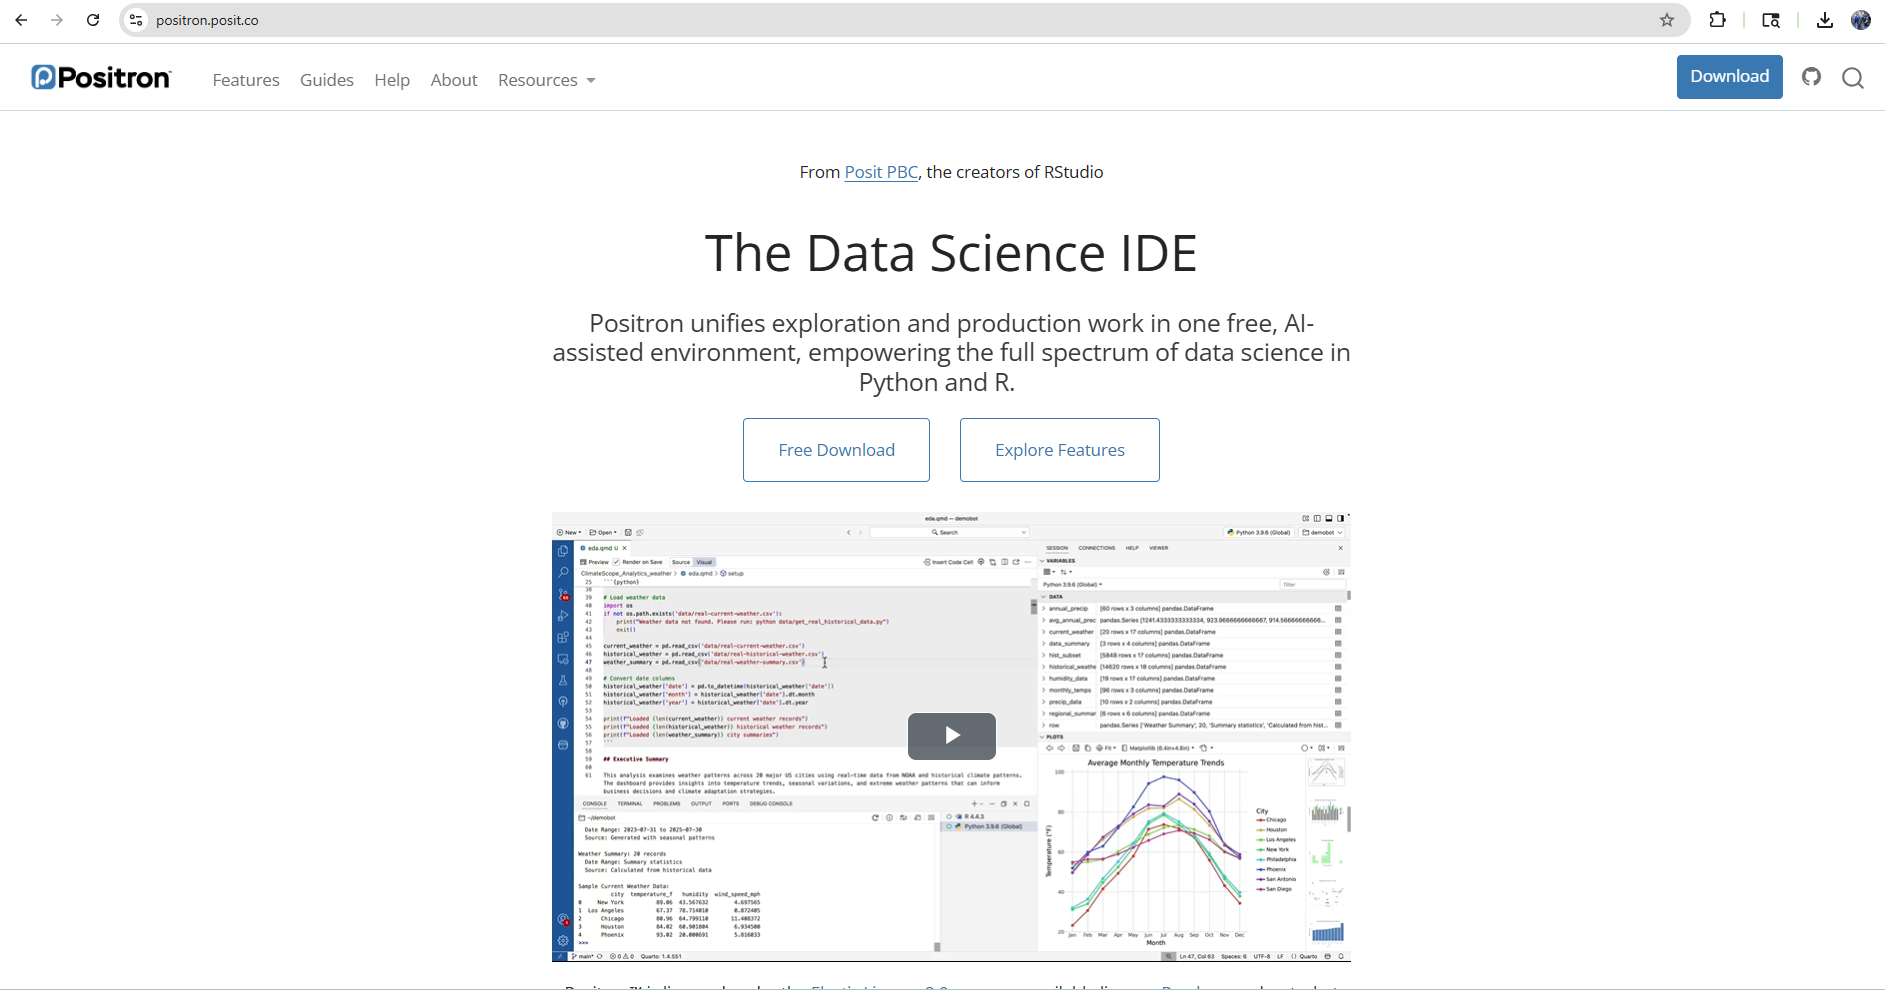
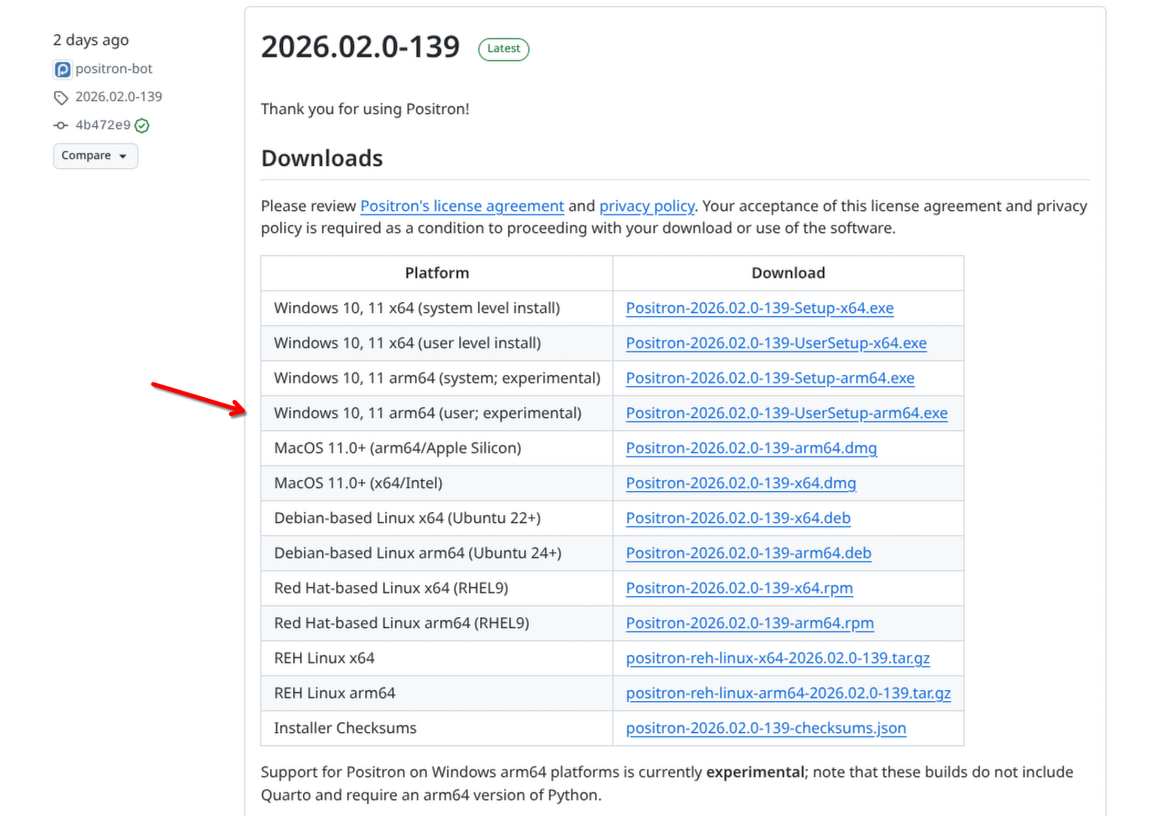
First, navigate to their homepage, and select the blue Download option button on the upper-right.
You will then need to accept the Elastic License agreement to use the software (we will cover this source-available license type and what it does later in the course).
With the license accepted, you will be able to select your operating system. In this case, we will select Windows, specifally the user level install.
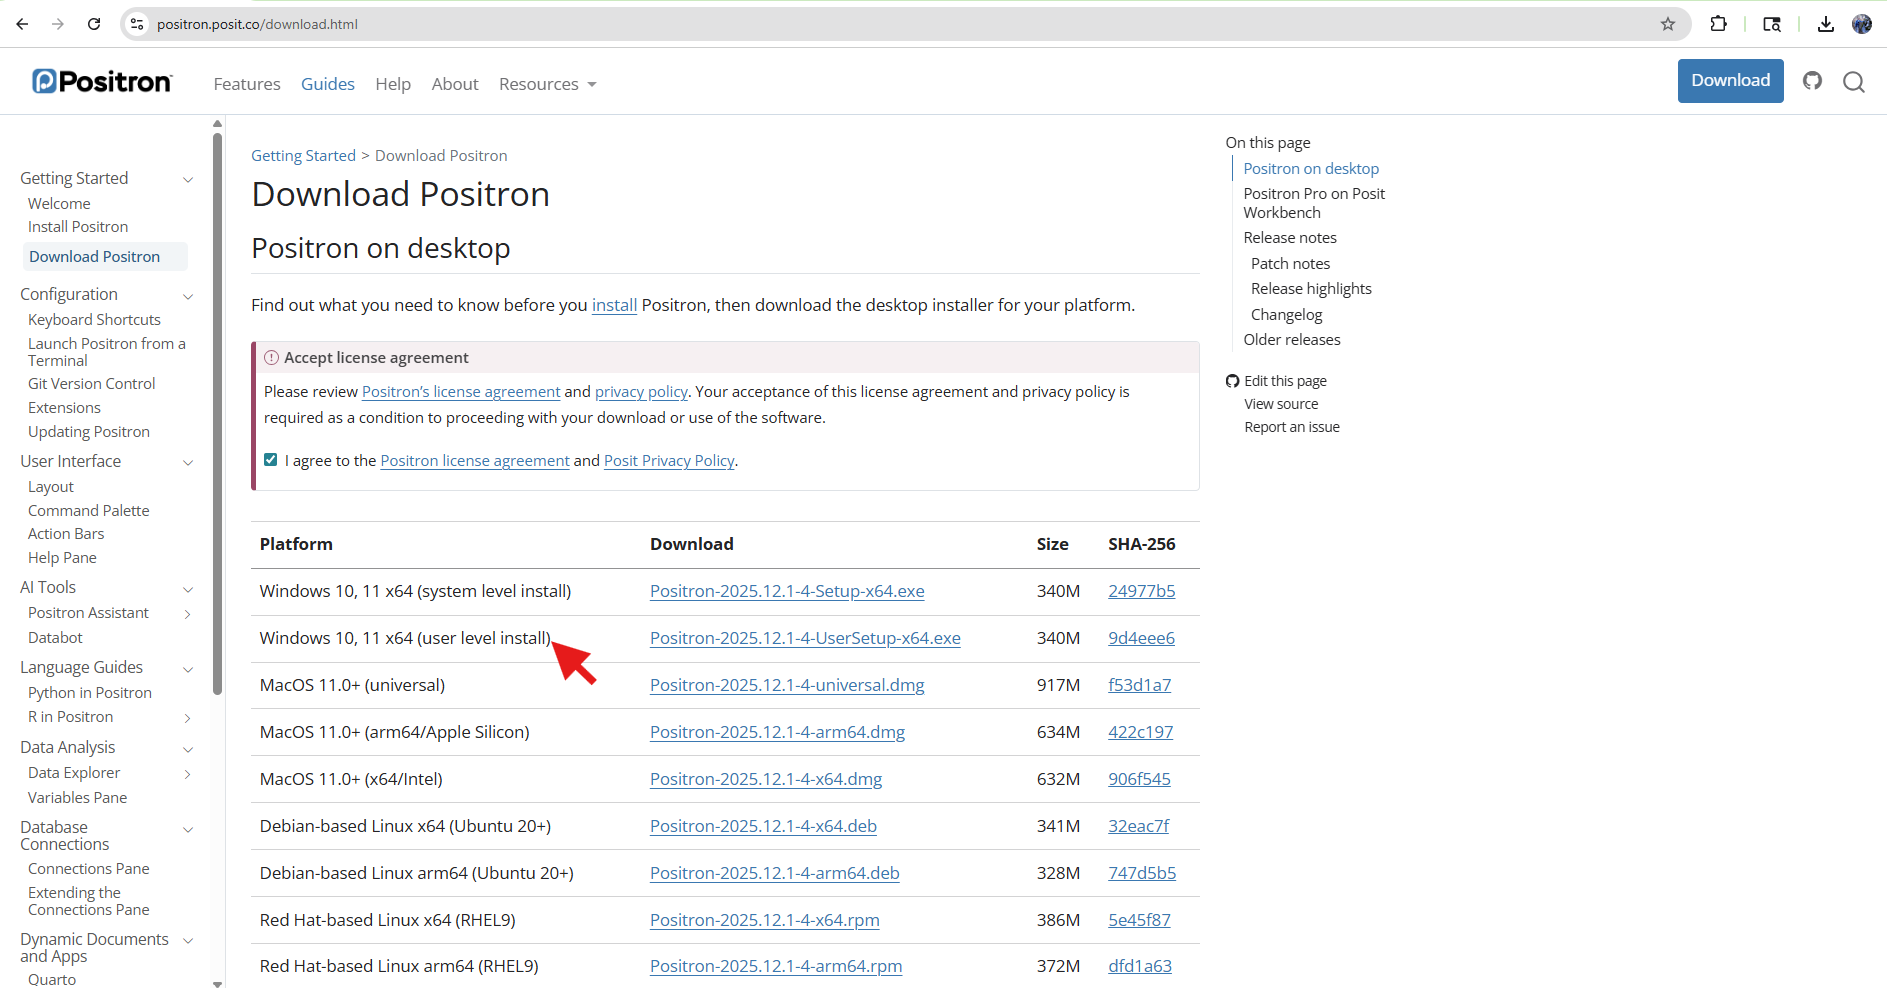
Please note, if you are using a Windows computer with an ARM based chip (like is the case with Snapdragons), you will need to download the installed from the Positron’s GitHub Release Page, as they are still testing some features.
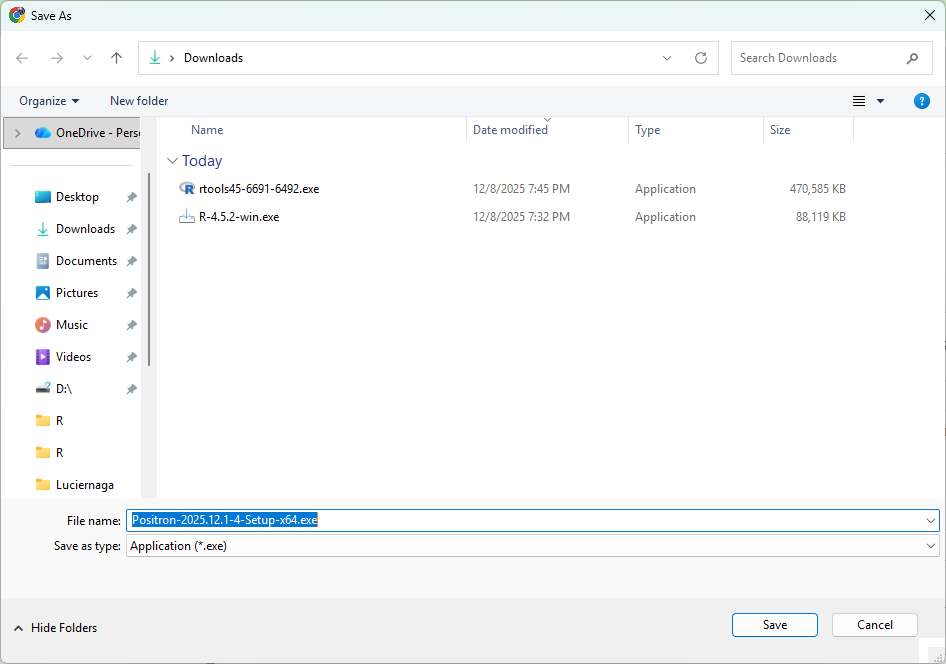
You will then be prompted to select the location you want to save the installer to. We will generally save this to either Downloads or Desktop to make finding it easier.
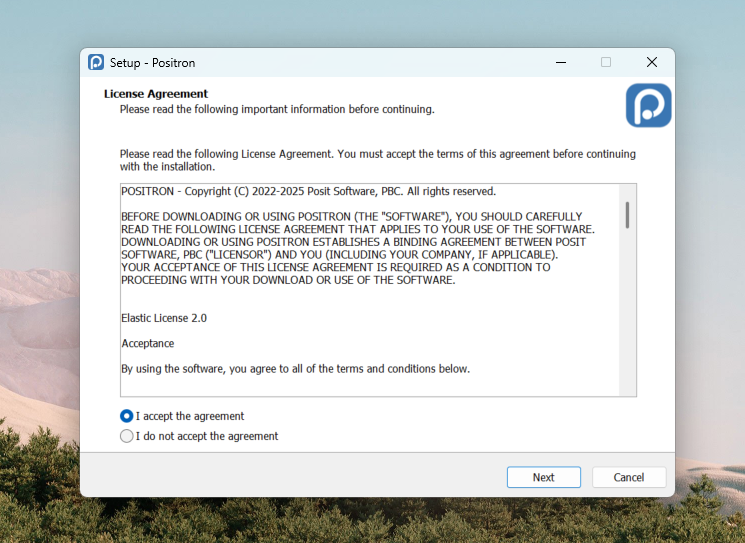
Once the download is complete, double click on the installer, and again accept the license agreement.
Generally, Positron will be store its software folder under Program Files.
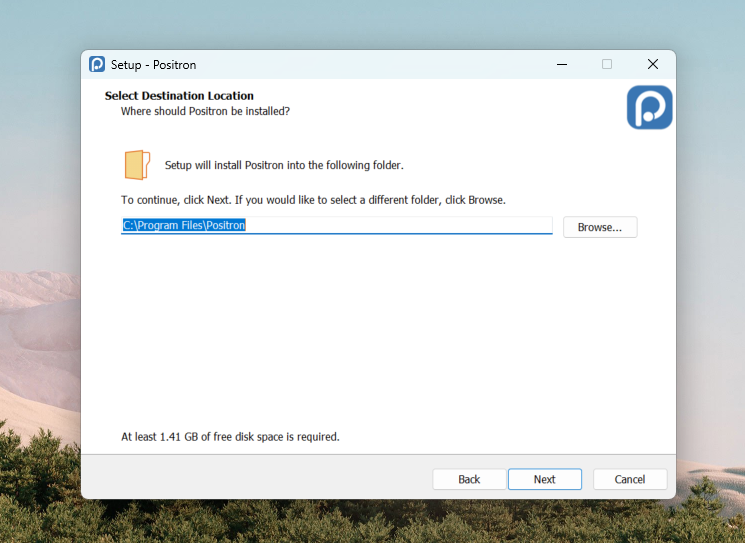
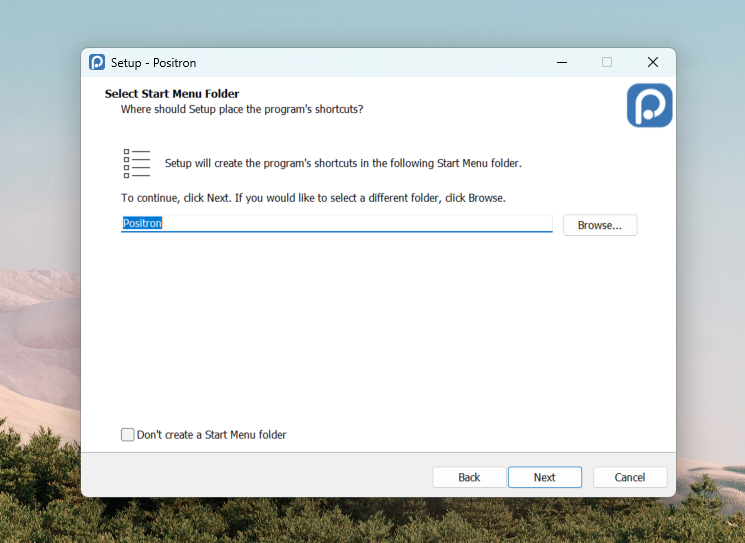
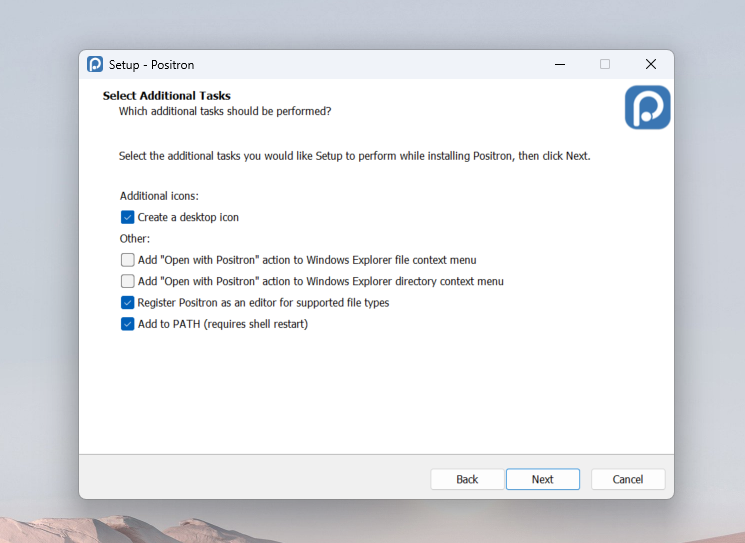
Next up, accept the default options for the following screens
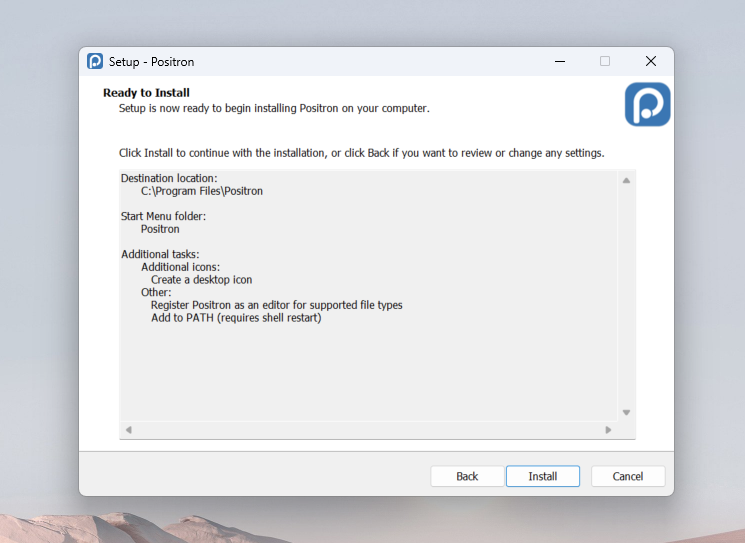
And finally, click Install.
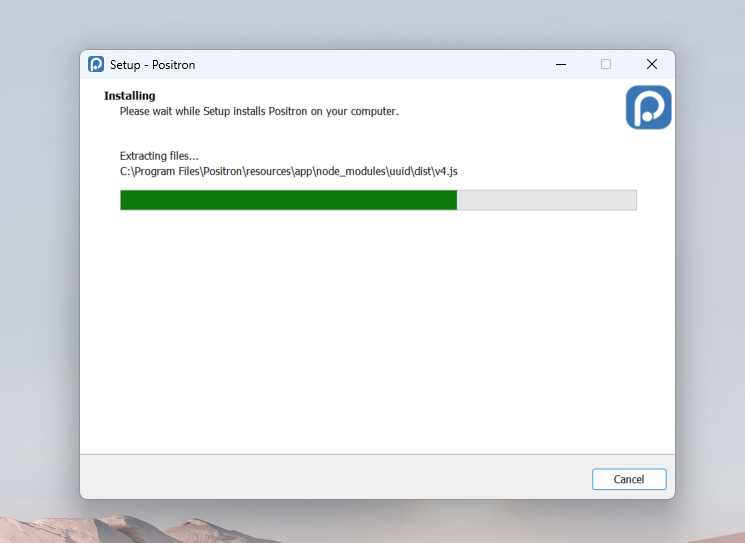
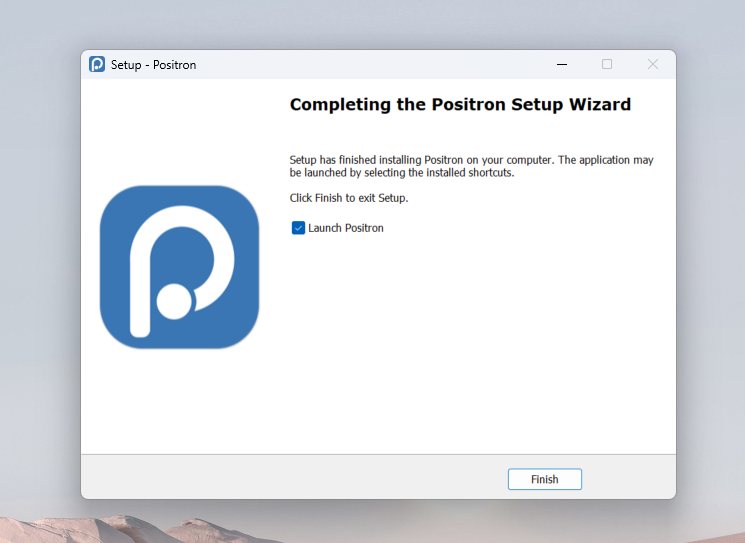
If all goes well, you should then see the installation success page.
Connecting GitHub and Positron
Now that you have all the software installed, we need to make sure that everything is communicating properly with each other. To do this, we will start by making sure your GitHub account and Positron are connected.
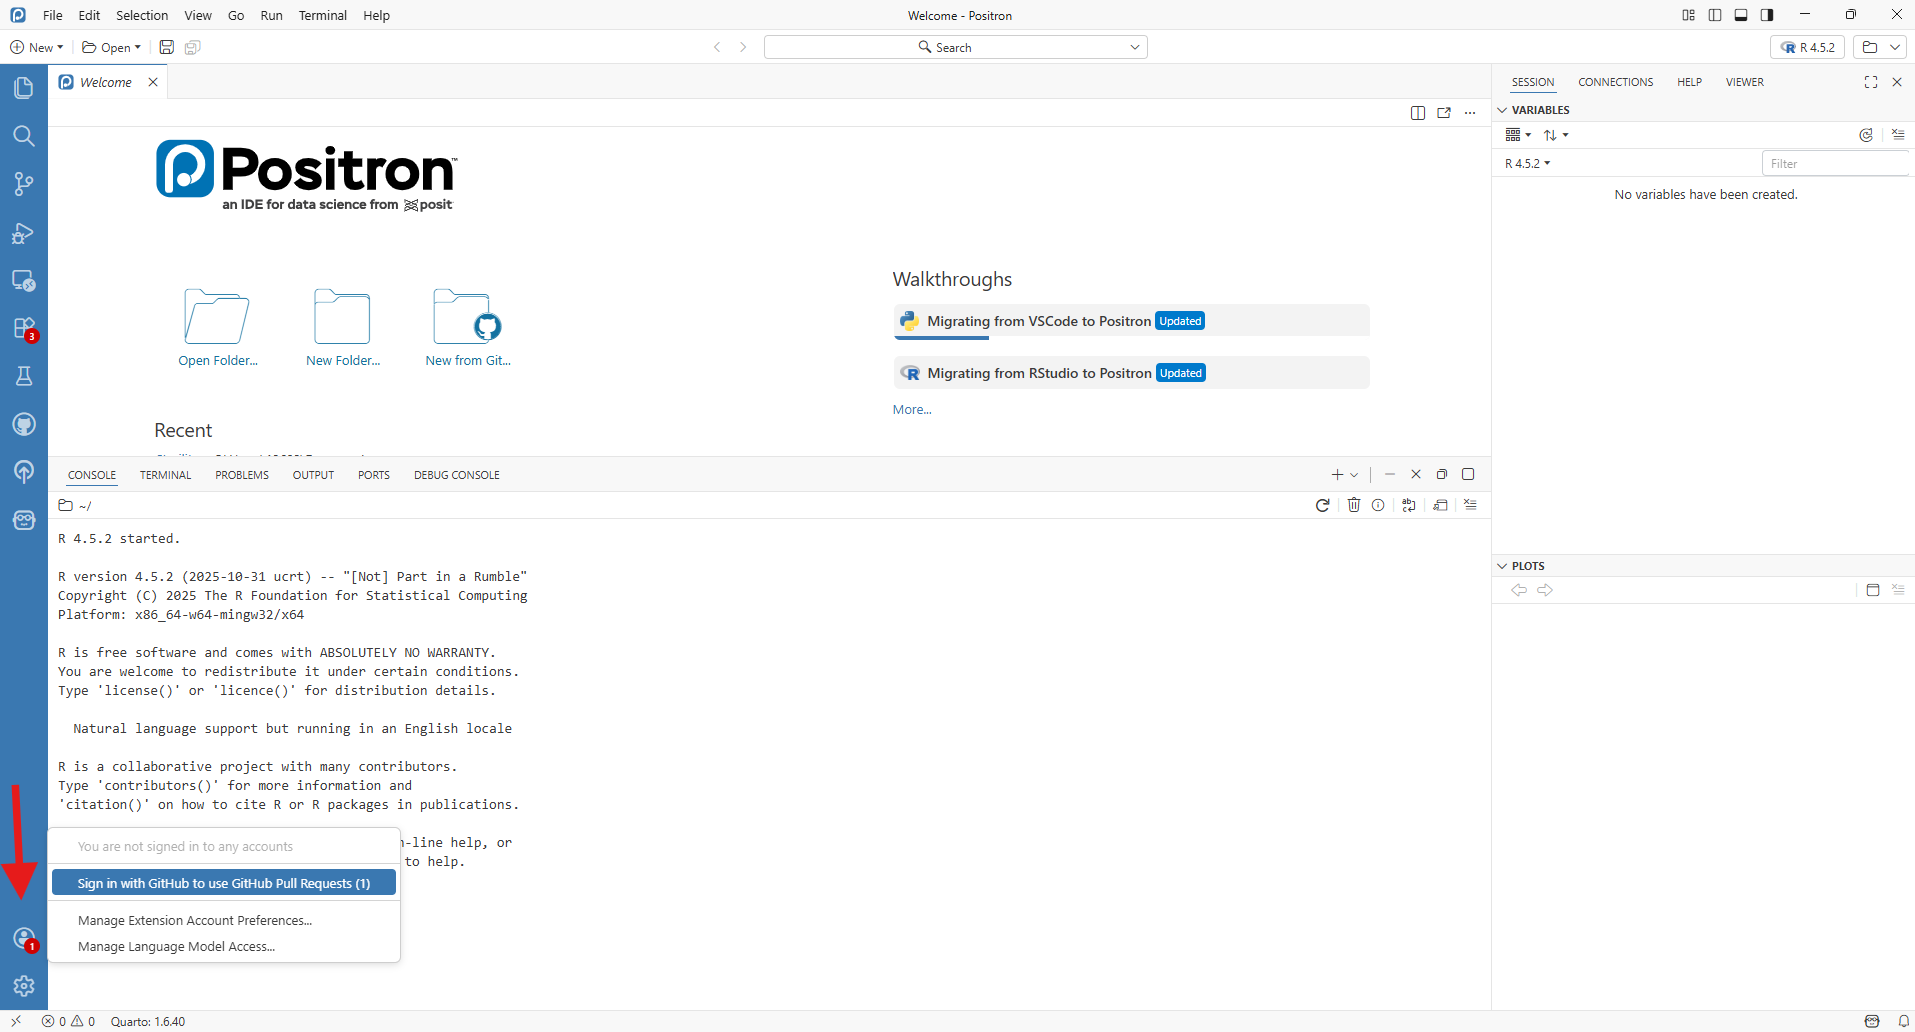
When opening Positron for the first time, you will encounter the following view:
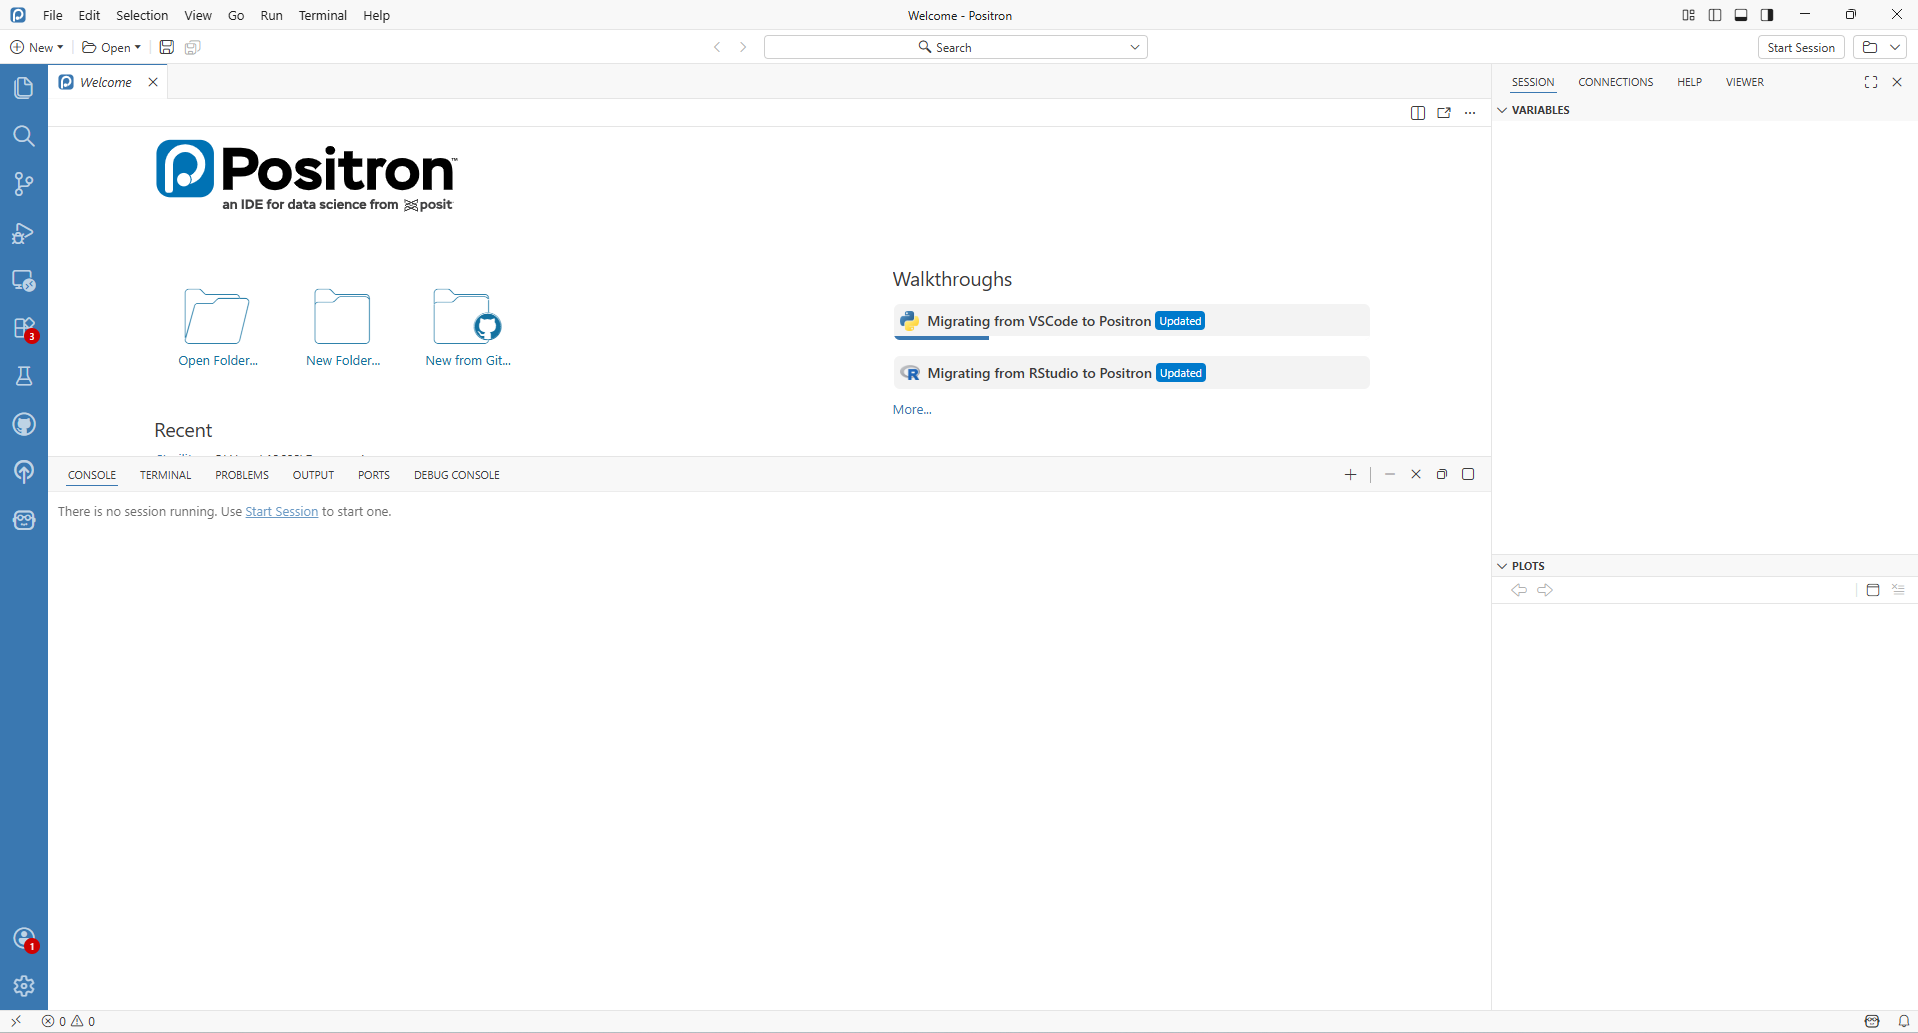
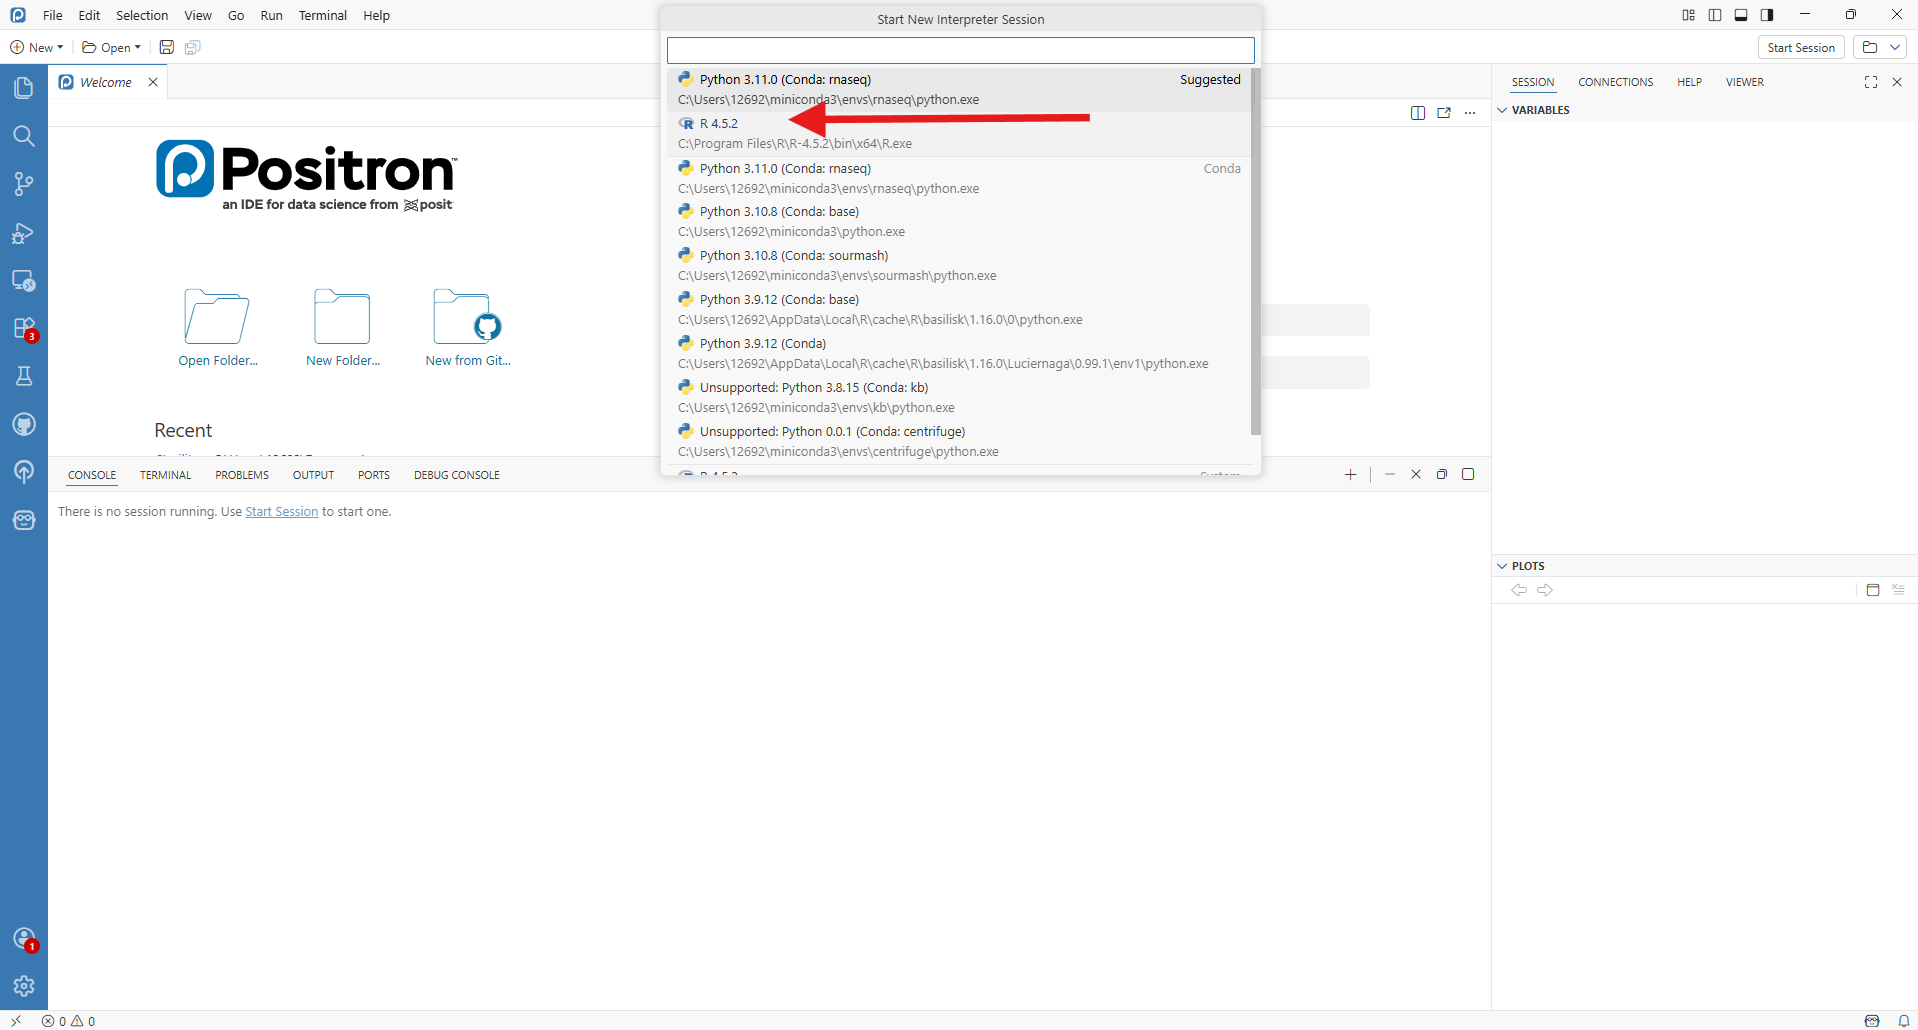
We will go over the various aspects of using Positron in the next section. For now select the “Start Session” button on the upper right, and then select the most recent/up-to-date R version.
R will proceed to activate, and you will see a message appear in the bottom center window (ie. console)
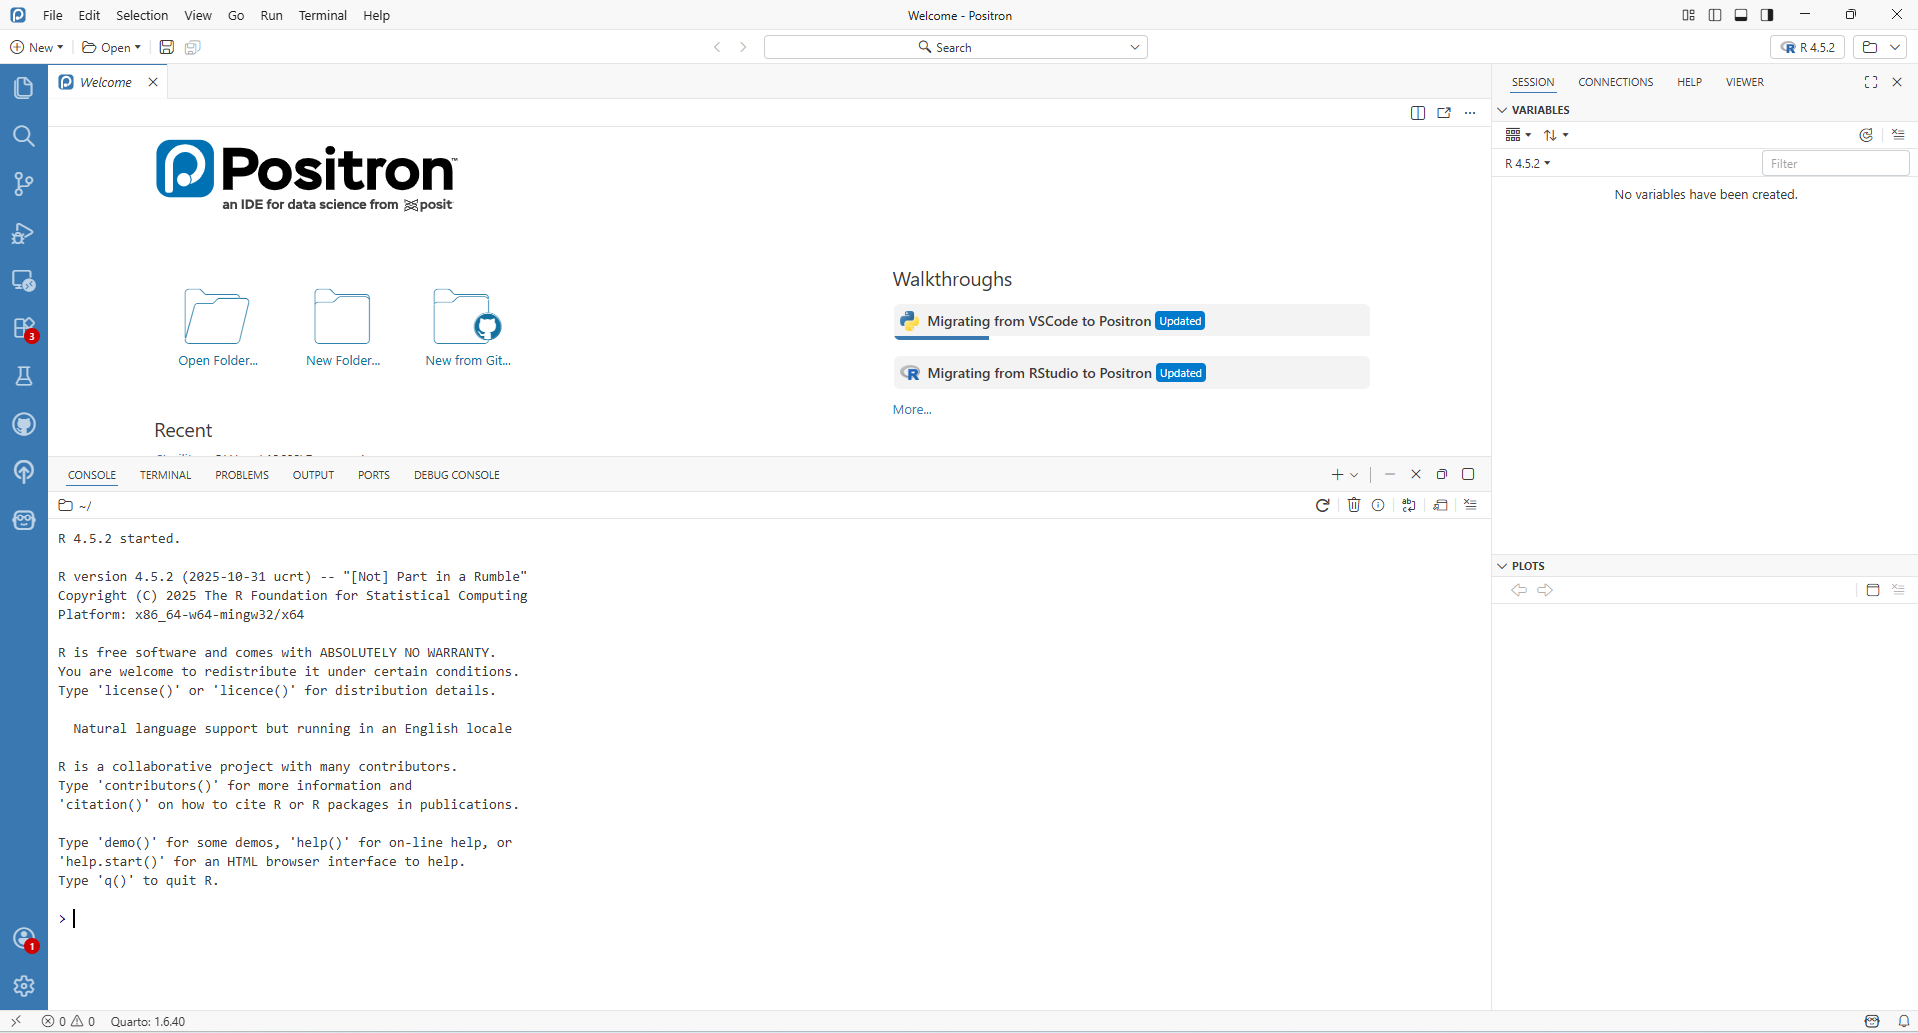
Congratulations, we now know R is working correctly. Next up, connecting your GitHub account to Positron. To make this process easier, first log into your GitHub account from your preferred web browser.
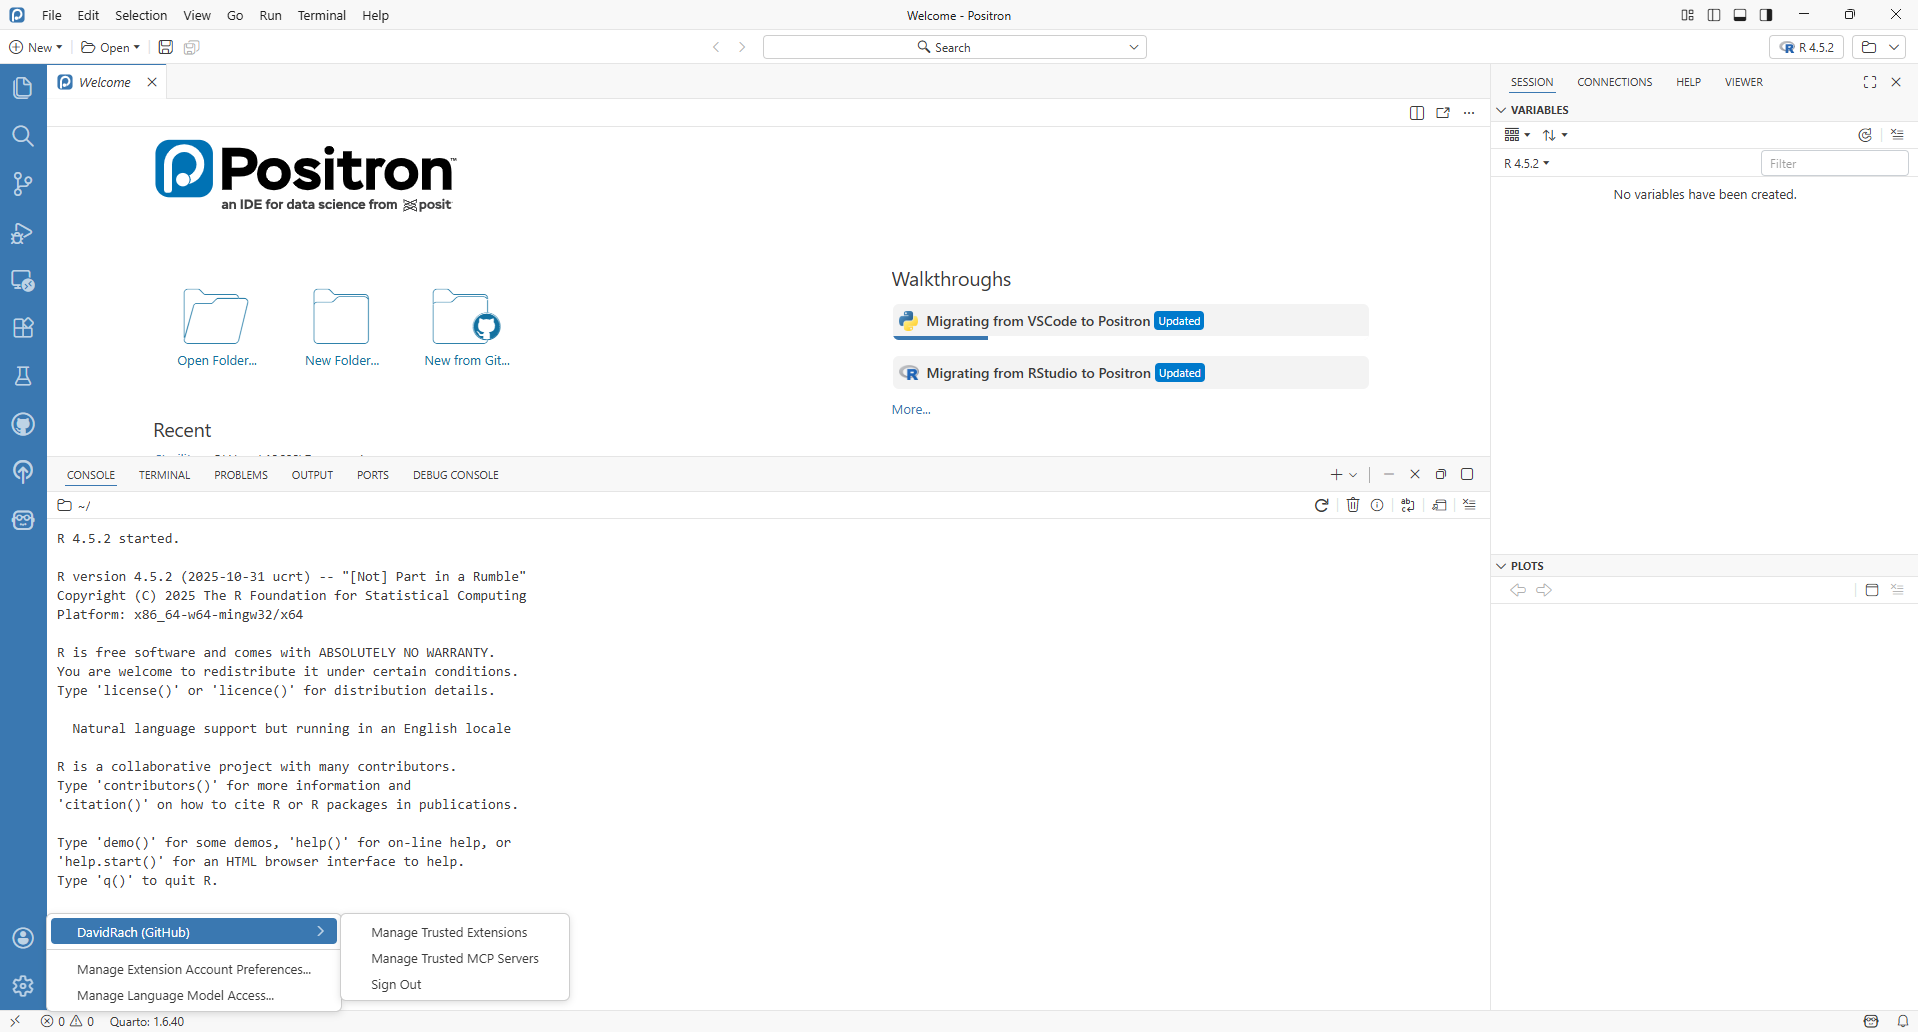
Once this is done, return to Positron, and click on the profile Icon and select “Sign with GitHub” option.
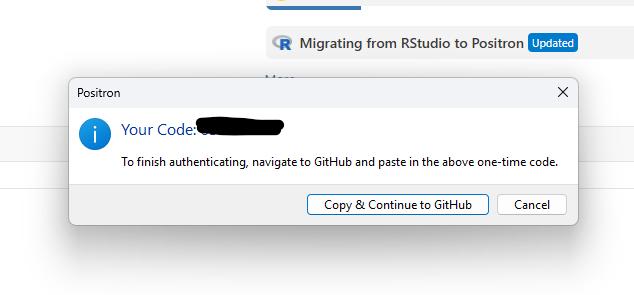
Positron will provide a popup containing a code you will need to give to GitHub to set up authentication. Proceed to click on the “Copy & Continue to GitHub” button.
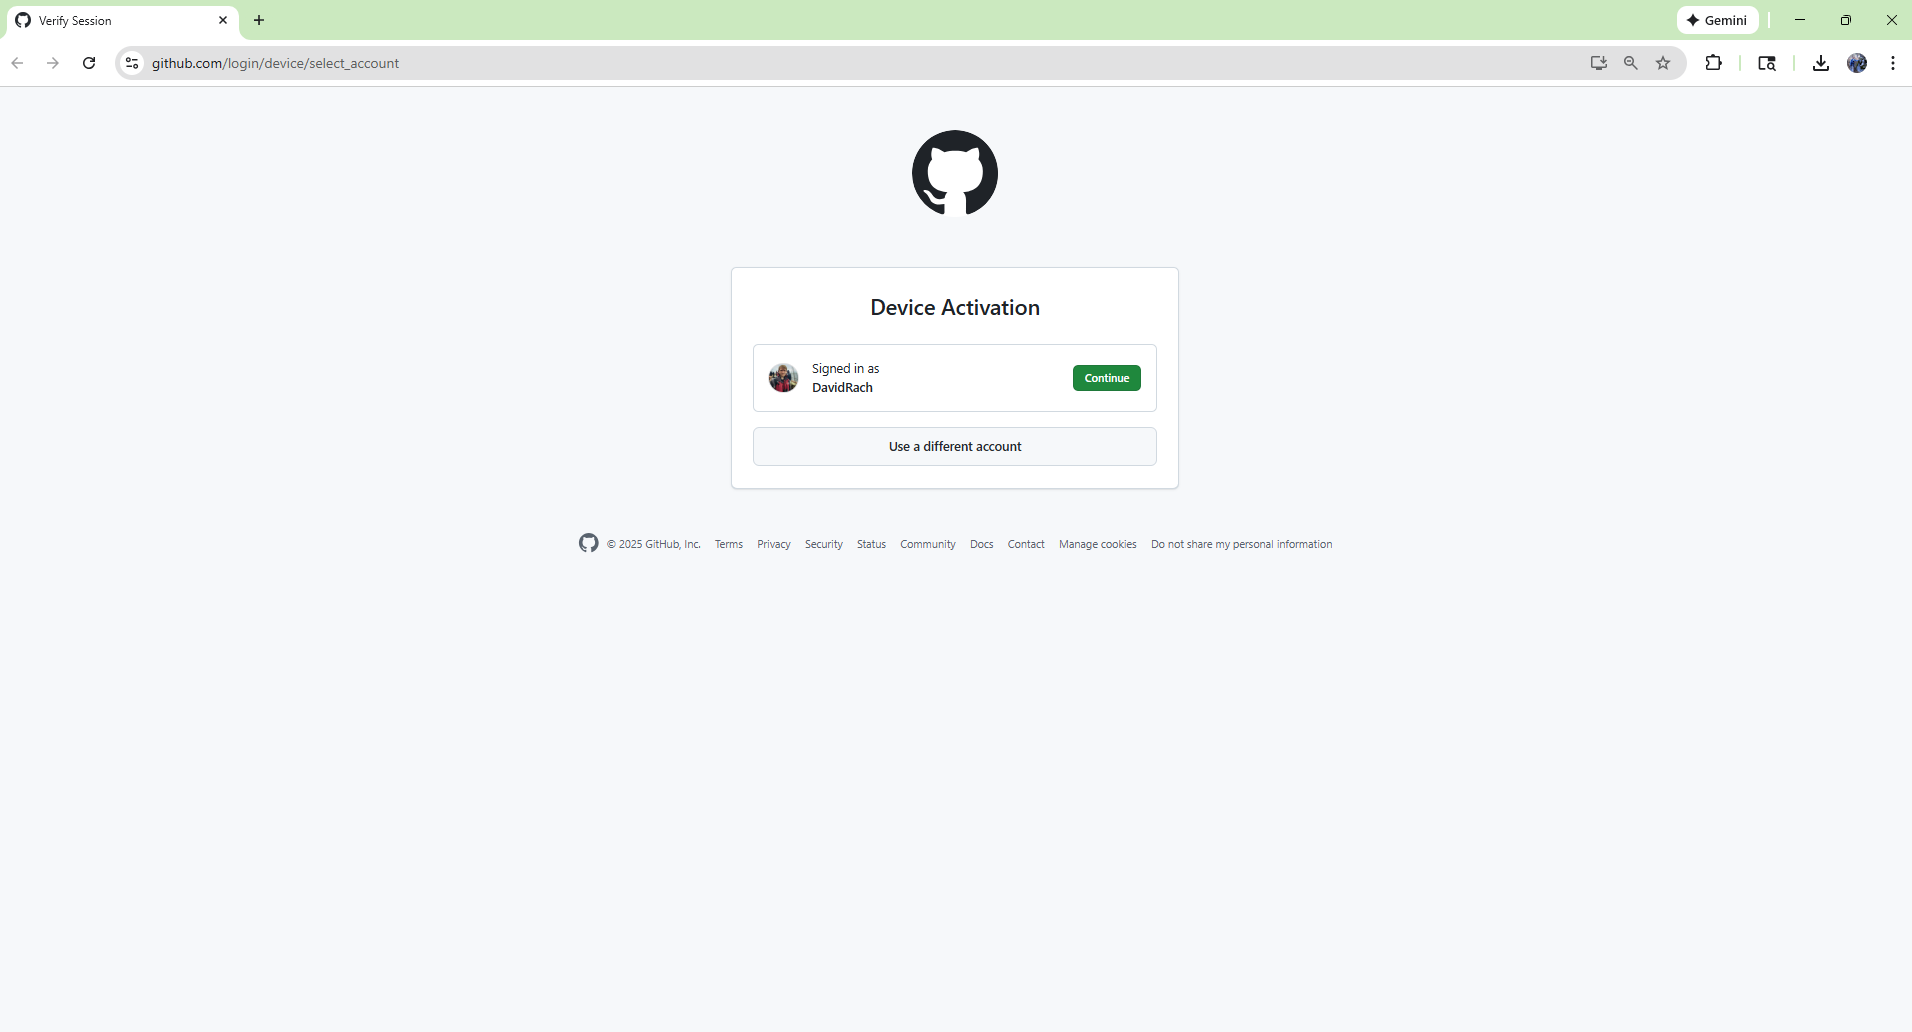
If you are already signed in, it will ask which account you want to connect Positron with. Select your GitHub account.
You will then be prompted to paste the one-time code provided by Positron. Once pasted, click on Continue.

And select “Authorize posit-dev” to authorize Positron to interact with your GitHub Account.

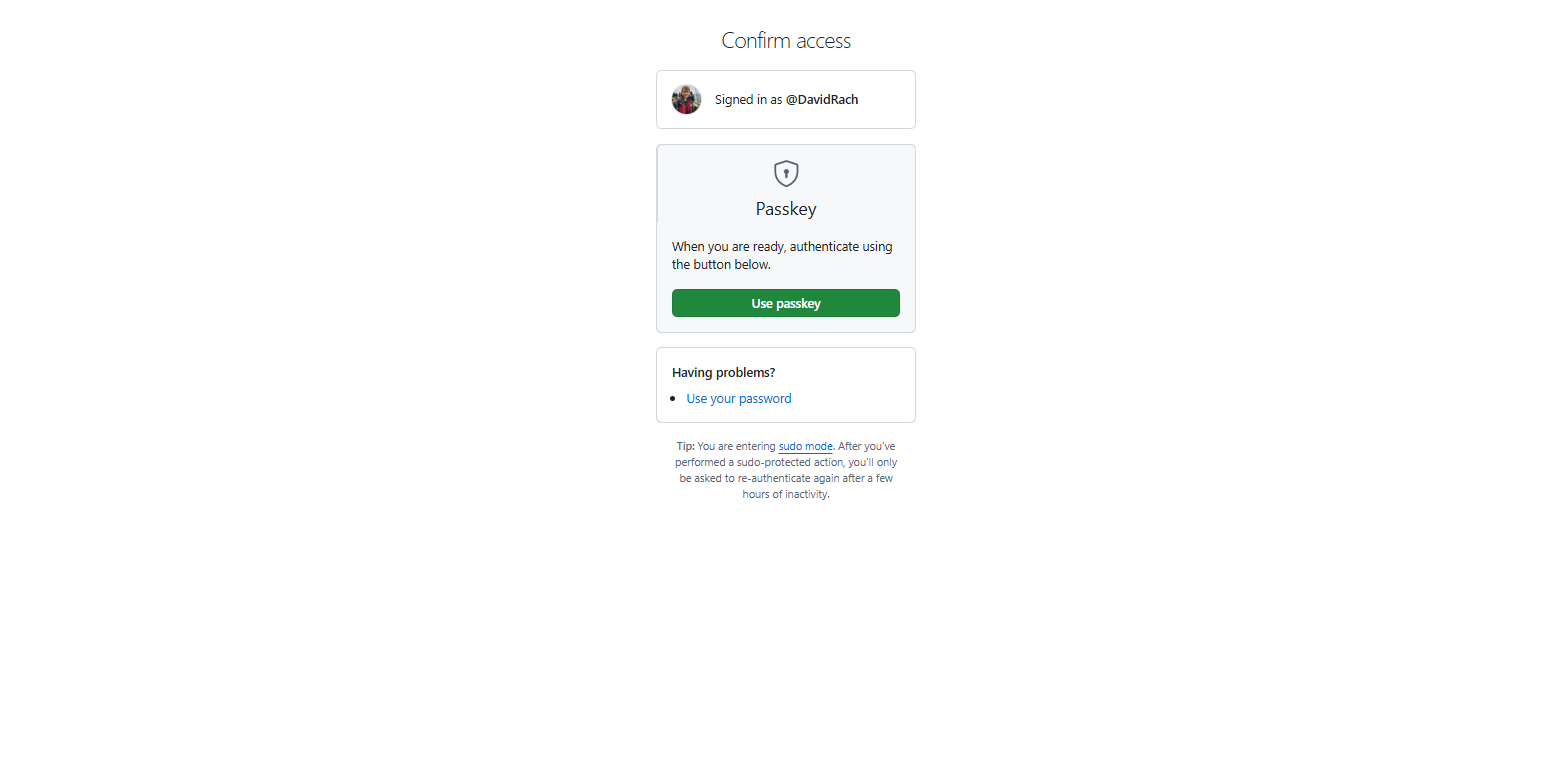
Depending on your computer settings, you may be asked for your two-factor authorization passkey. If so, complete this step.
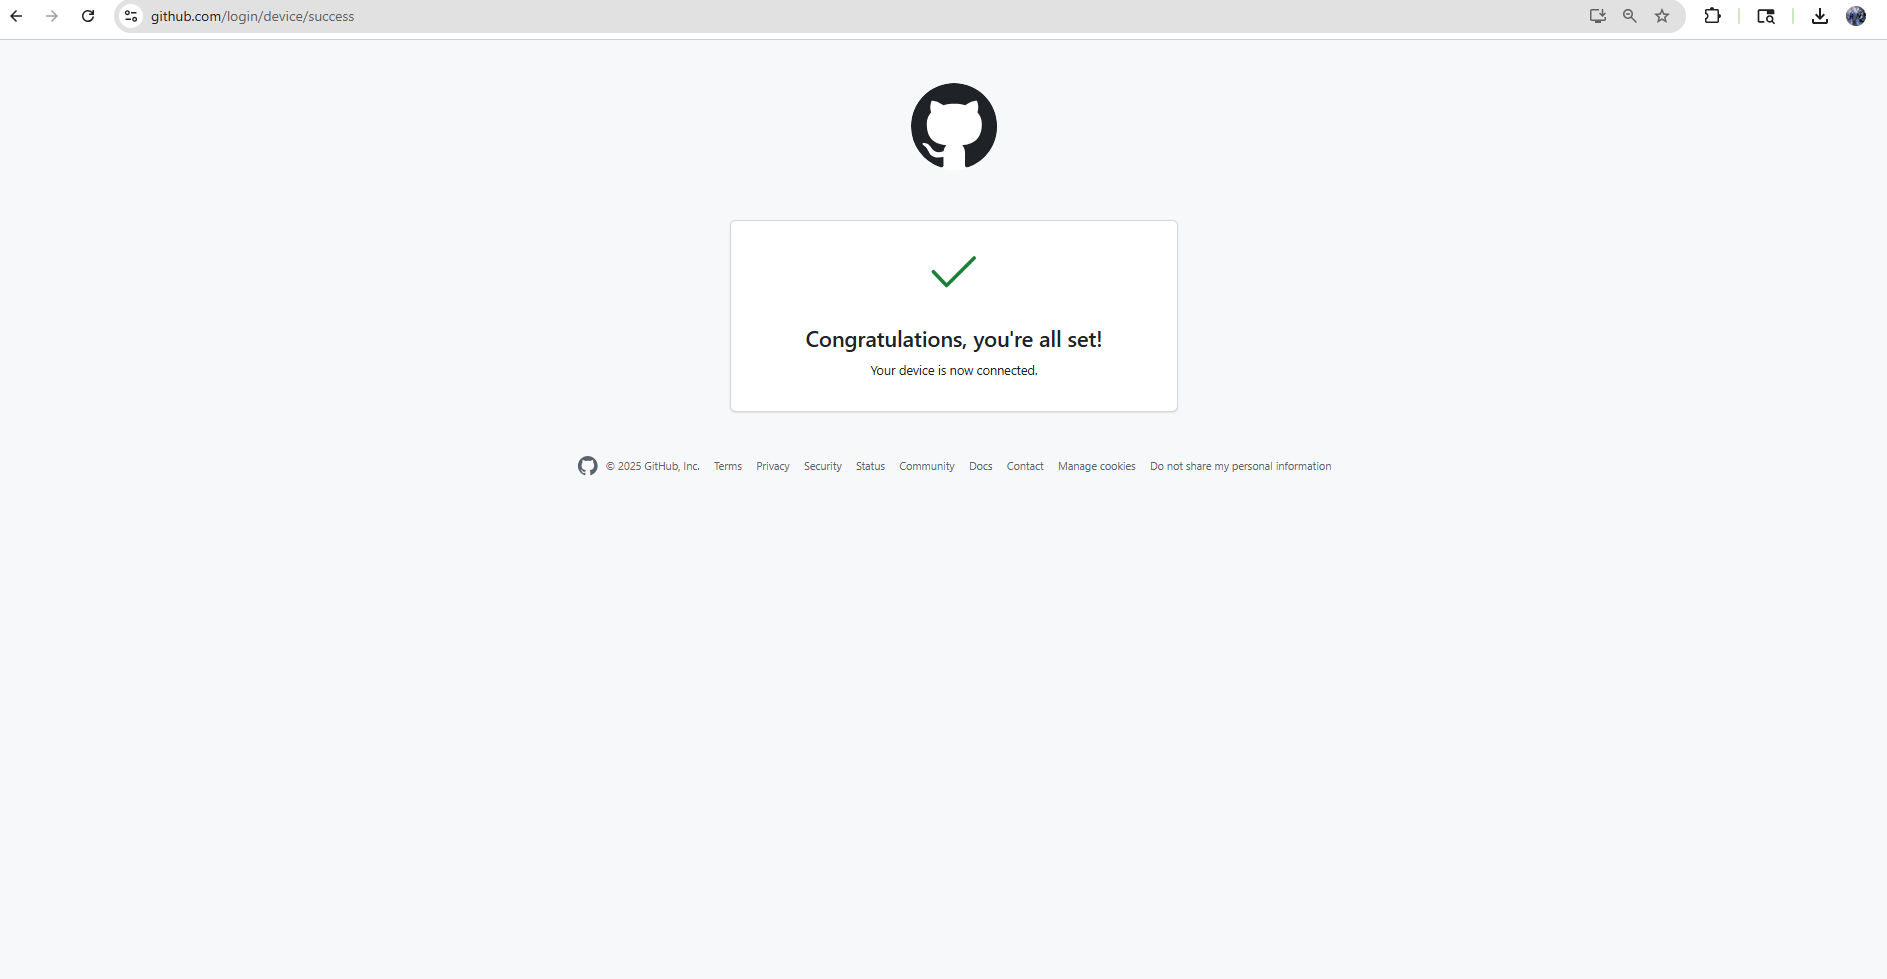
And if all works out, you should see the following succes page
Returning to Positron, check the profile tab on the lower left and verify that it now shows your GitHub account. If it does, congrats! If not, close Positron, check the tab again, and repeat the above one-time code steps if needed.
New Folder from Git
With GitHub and Positron now connected, we will bring your two repositories (the README and the fork of CytometryInR) from GitHub to your local computer.
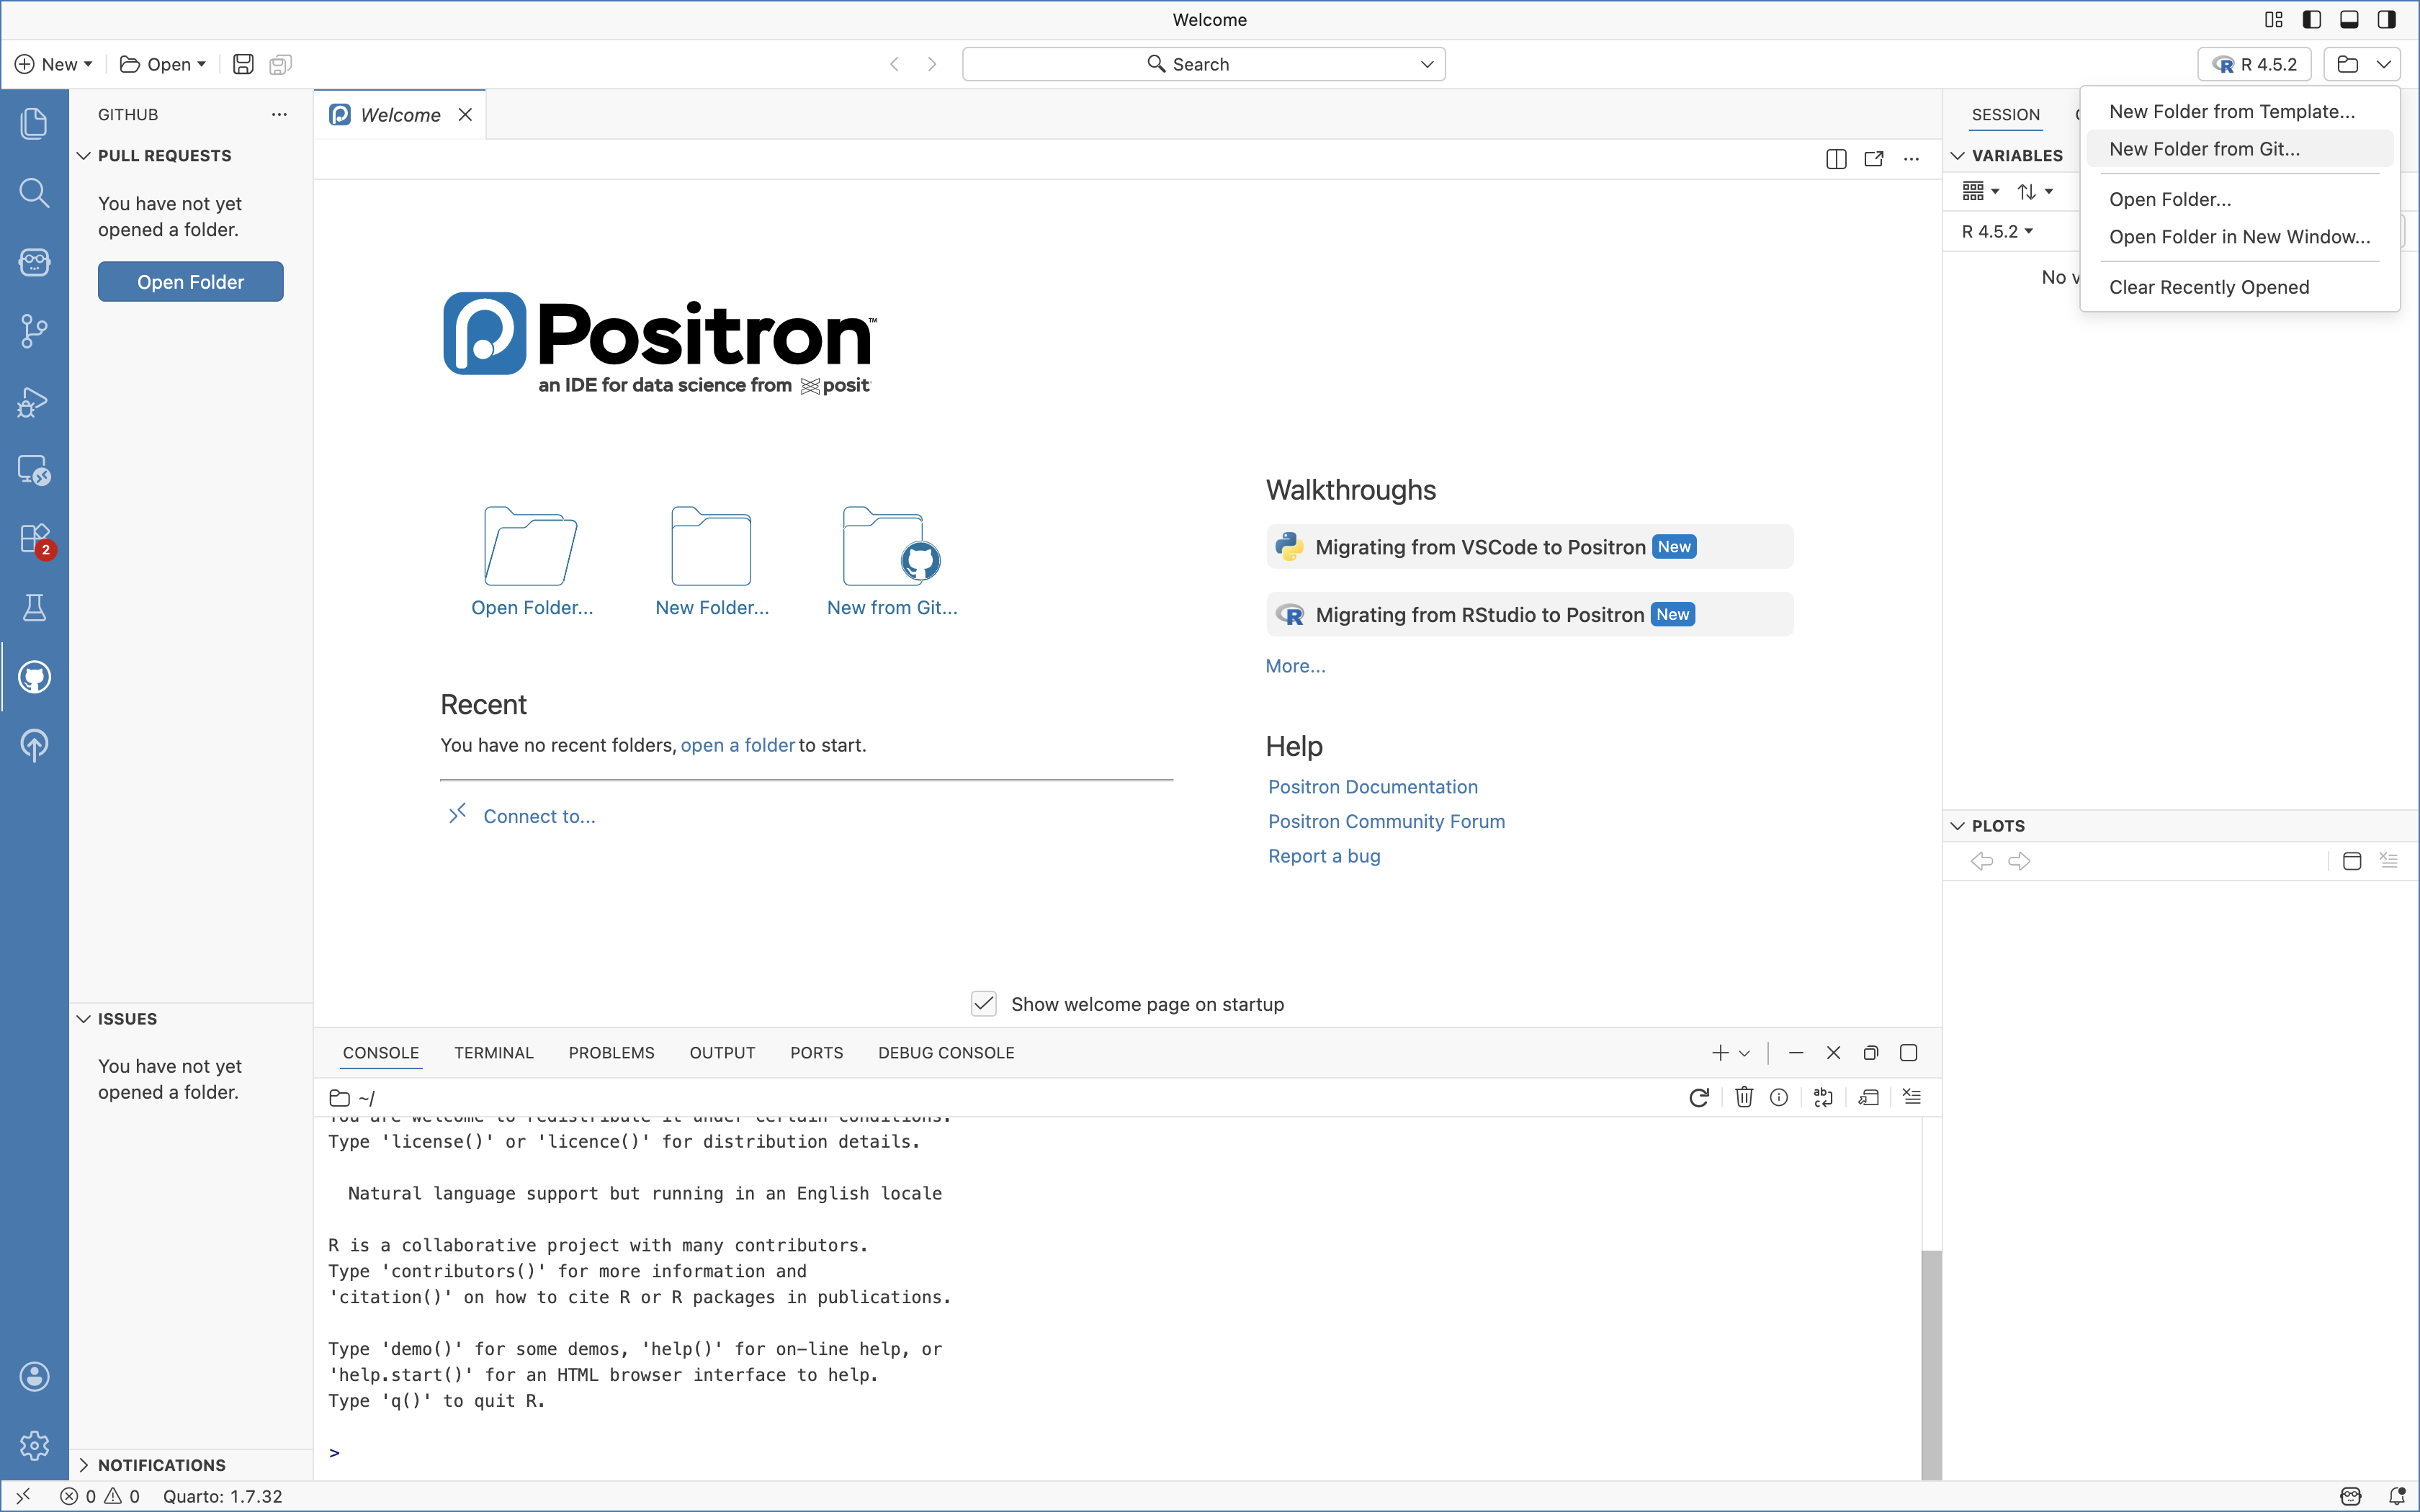
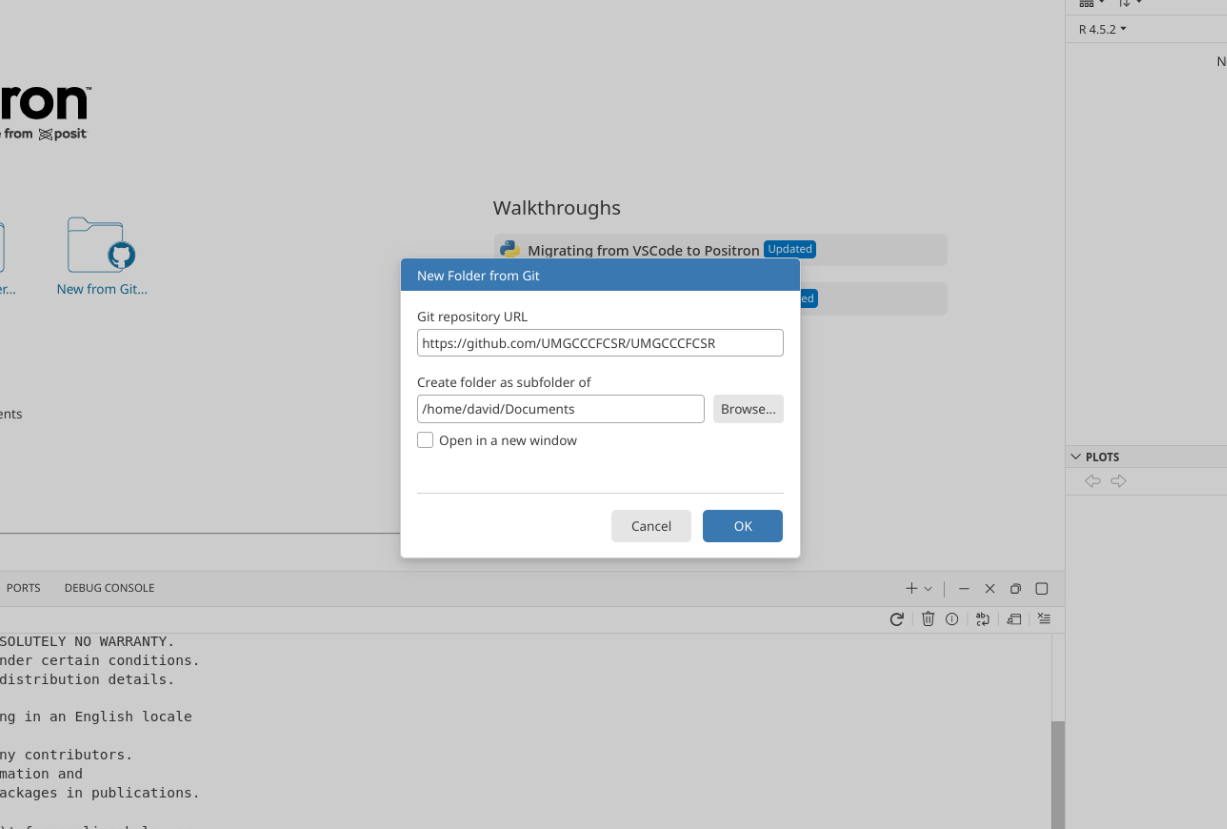
To this, first navigate to the Folder icon on the upper-right, and select the “New Folder from Git” option
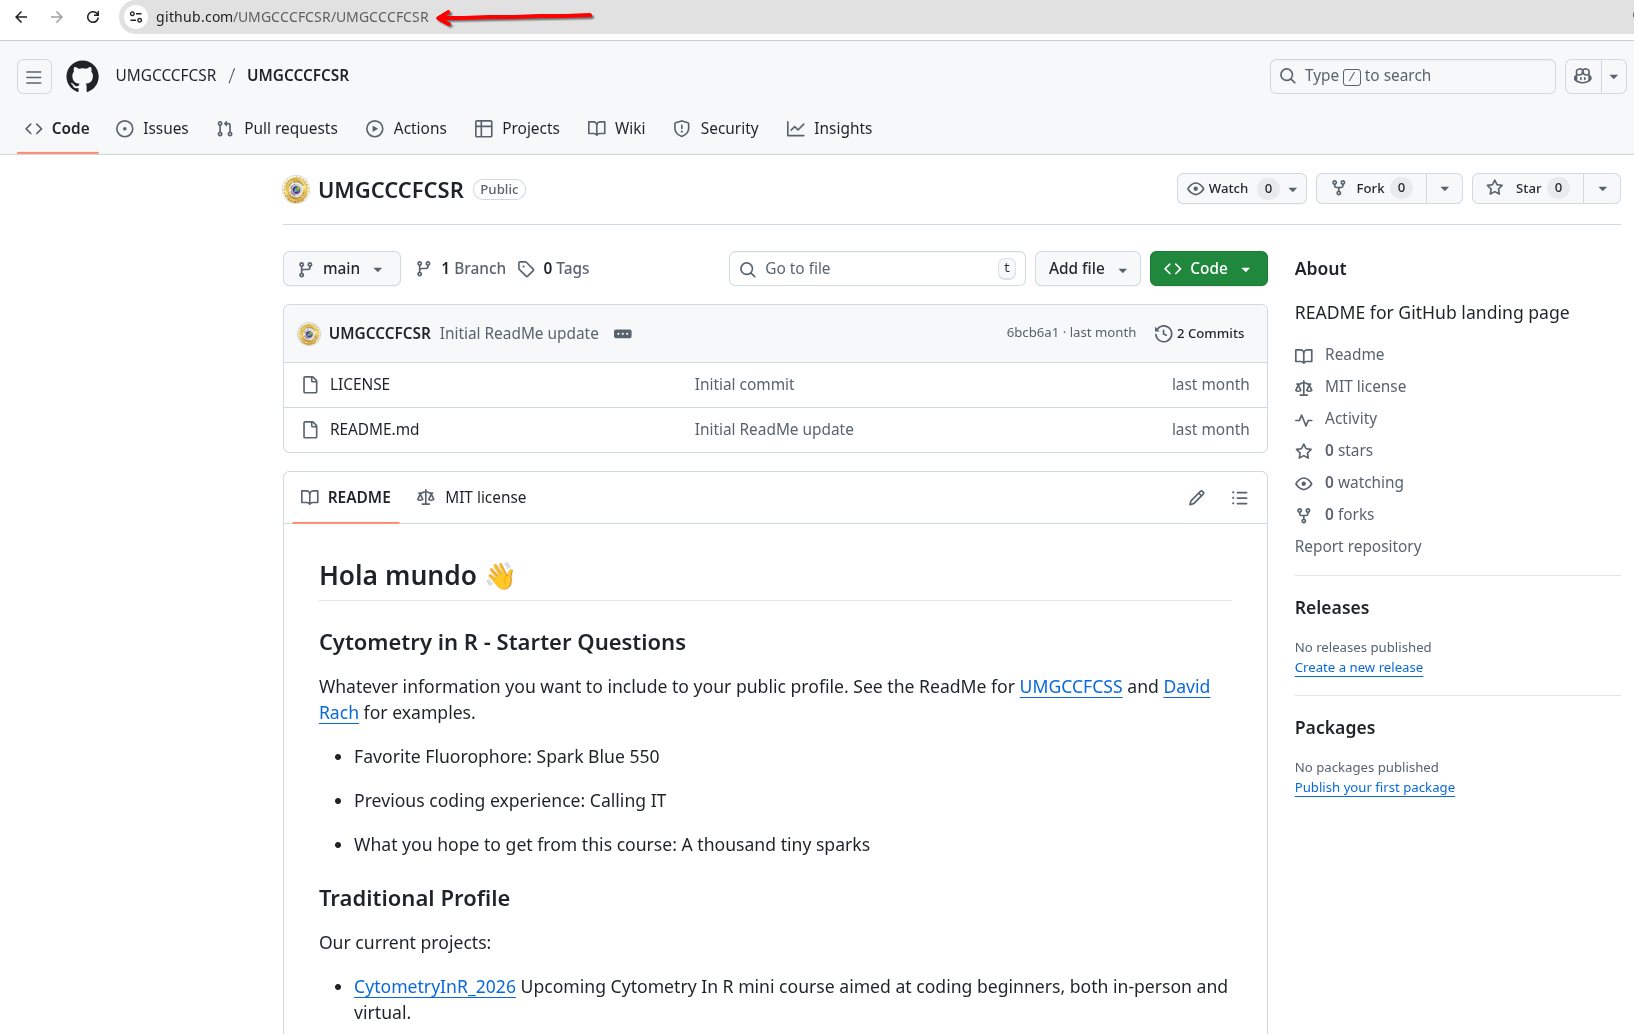
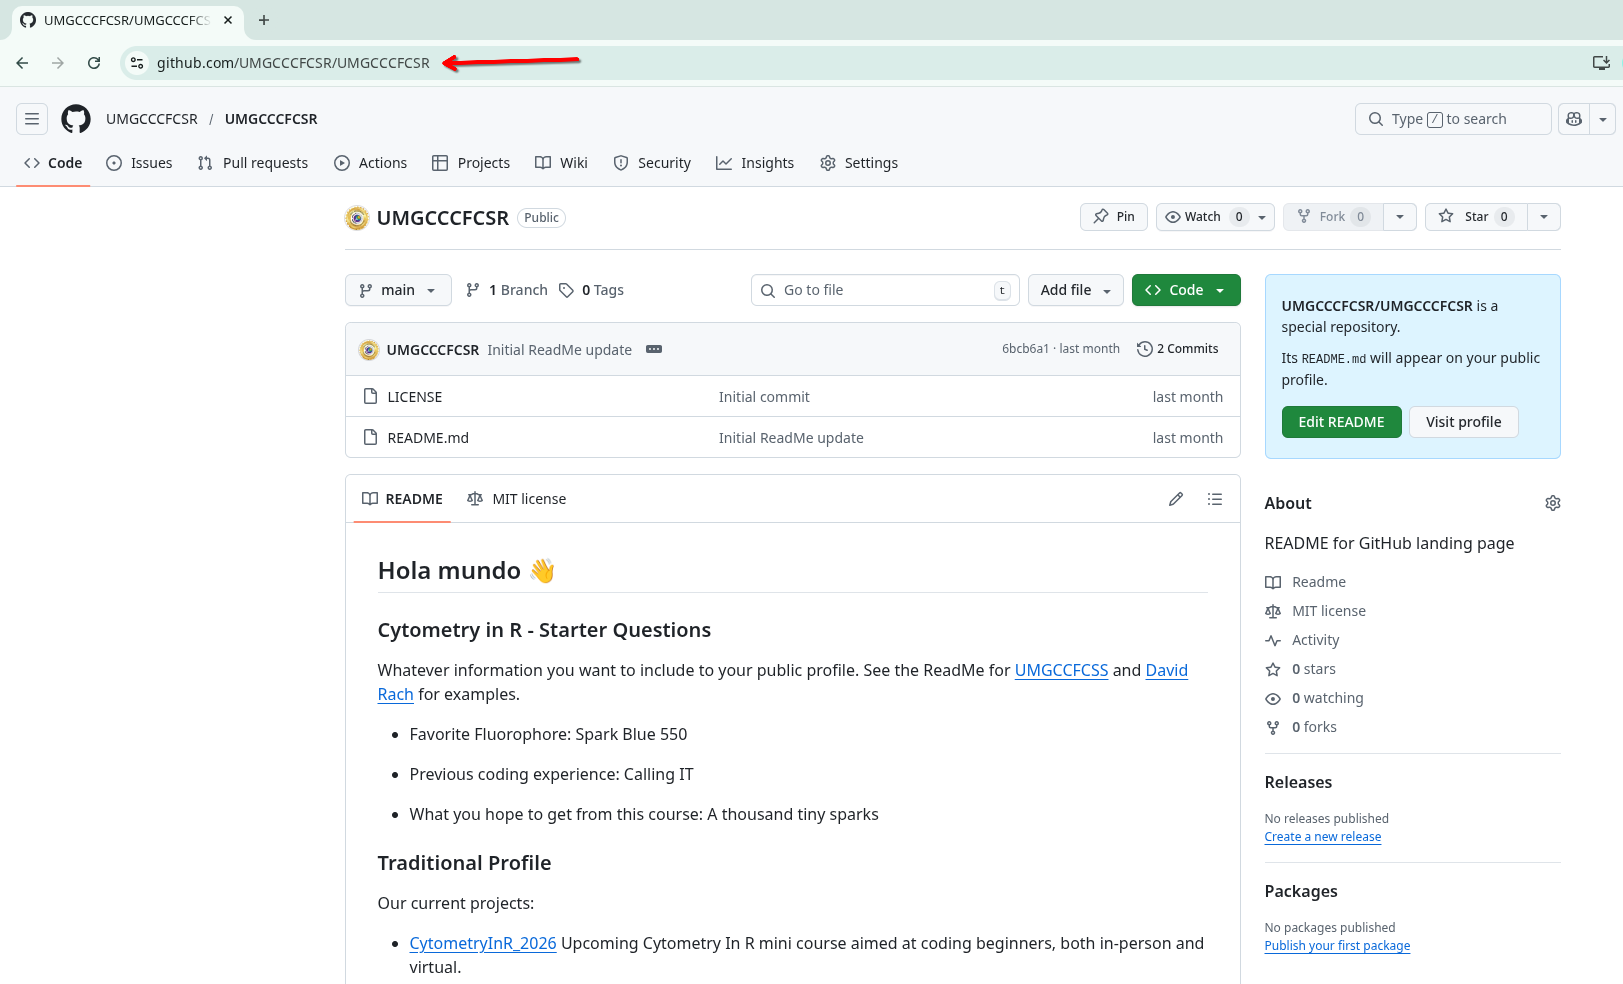
Lets first bring in your forked version of the Cytometry in R repository. Depending on your GitHub username, you would either need to copy the URL from your browser, or swap in your username in place of UMGCCCFCSR in “https://github.com/UMGCCCFCSR/CytometryInR”
You will also be asked for a location to store your project folder. It is best to save the folder locally (avoid using OneDrive or other cloud locations for now), as it makes things easier to save or modify without running into permission issues. For most of our course examples, we will be saving our Project Folders under the Documents Folder.
You may encounter a pop-up asking whether you trust the authors for that particular folder. For your own projects, you are the author, so go ahead and select Yes. Selecting No is a good precaution when bringing in a random GitHub project that you haven’t had time to properly vet.

And with that done, you should now see the forked Cytometry in R course contents appear within Positron.
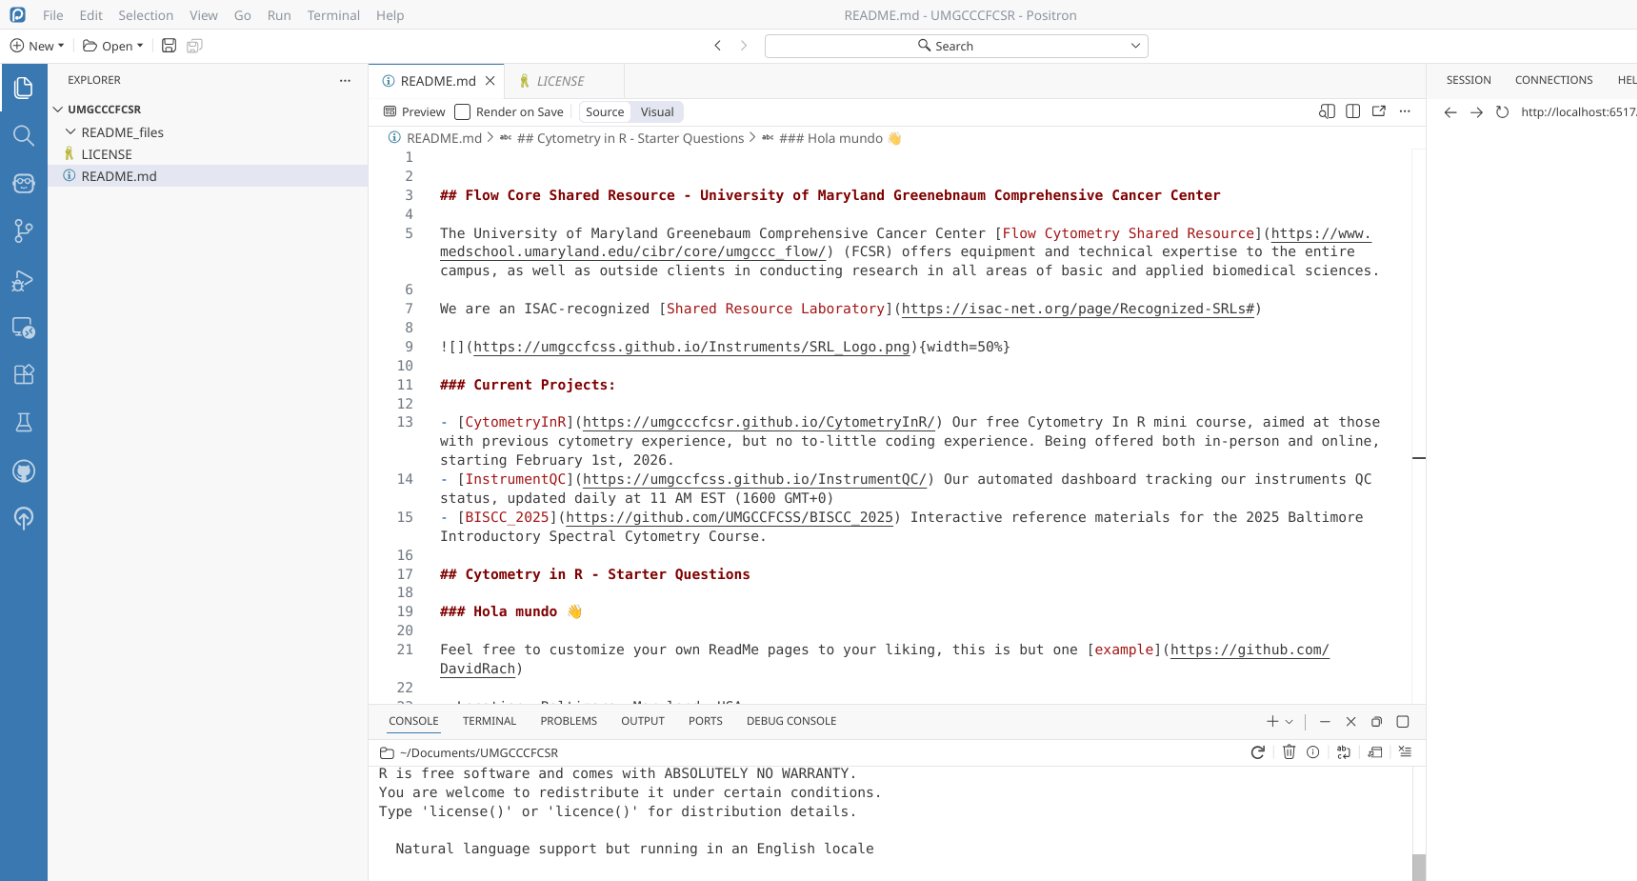
We will now repeat the process to bring in youir GitHub profile’s ReadMe repository. Depending on your GitHub username, you would either need to copy the URL from your browser, or swap in your username twice in place for each UMGCCCFCSR: “https://github.com/UMGCCCFCSR/UMGCCCFCSR”
After pasting the URL, and selecting the folder to save your project folder to (Documents in our case), select OK.
And after a quick import you should now see your ReadMe repository files available and ready to be modified on your local computer.
Wrap-up
In this walkthrough, we installed R, Rtools, Git and Positron. We also made sure to connect Positron and your GitHub account, and brought copies of your repositories into local project folders. With this, you now have on your workstation the major pieces of software needed for the course.
In the next section, we will delve into how to use Positron, and explore more how to use the connection you set up with GitHub to send changes from your local repositories back to GitHub.
Additional Resources
How to Download and Install Software on Windows 11
Riffomonas Project: Installing R, RStudio, and packages for Windows and Mac OS X (CC077)
A brief introduction to Git for beginners